How to Use the Data Builder Tool
Learn step by step how to build your own data layers inside SparkMap’s Map Room. Pro and Premium SparkMap Subscribers can use the Data Builder Tool. Want to learn more about subscription options? Visit our Pricing Page.
Select Your Data Category
Provide Data Attributes
Draw and Edit Data Points
Compare & Share Data
Step 1 – Select Your Data Category
Navigate to the “Data Builder” Tool in the Map Room.
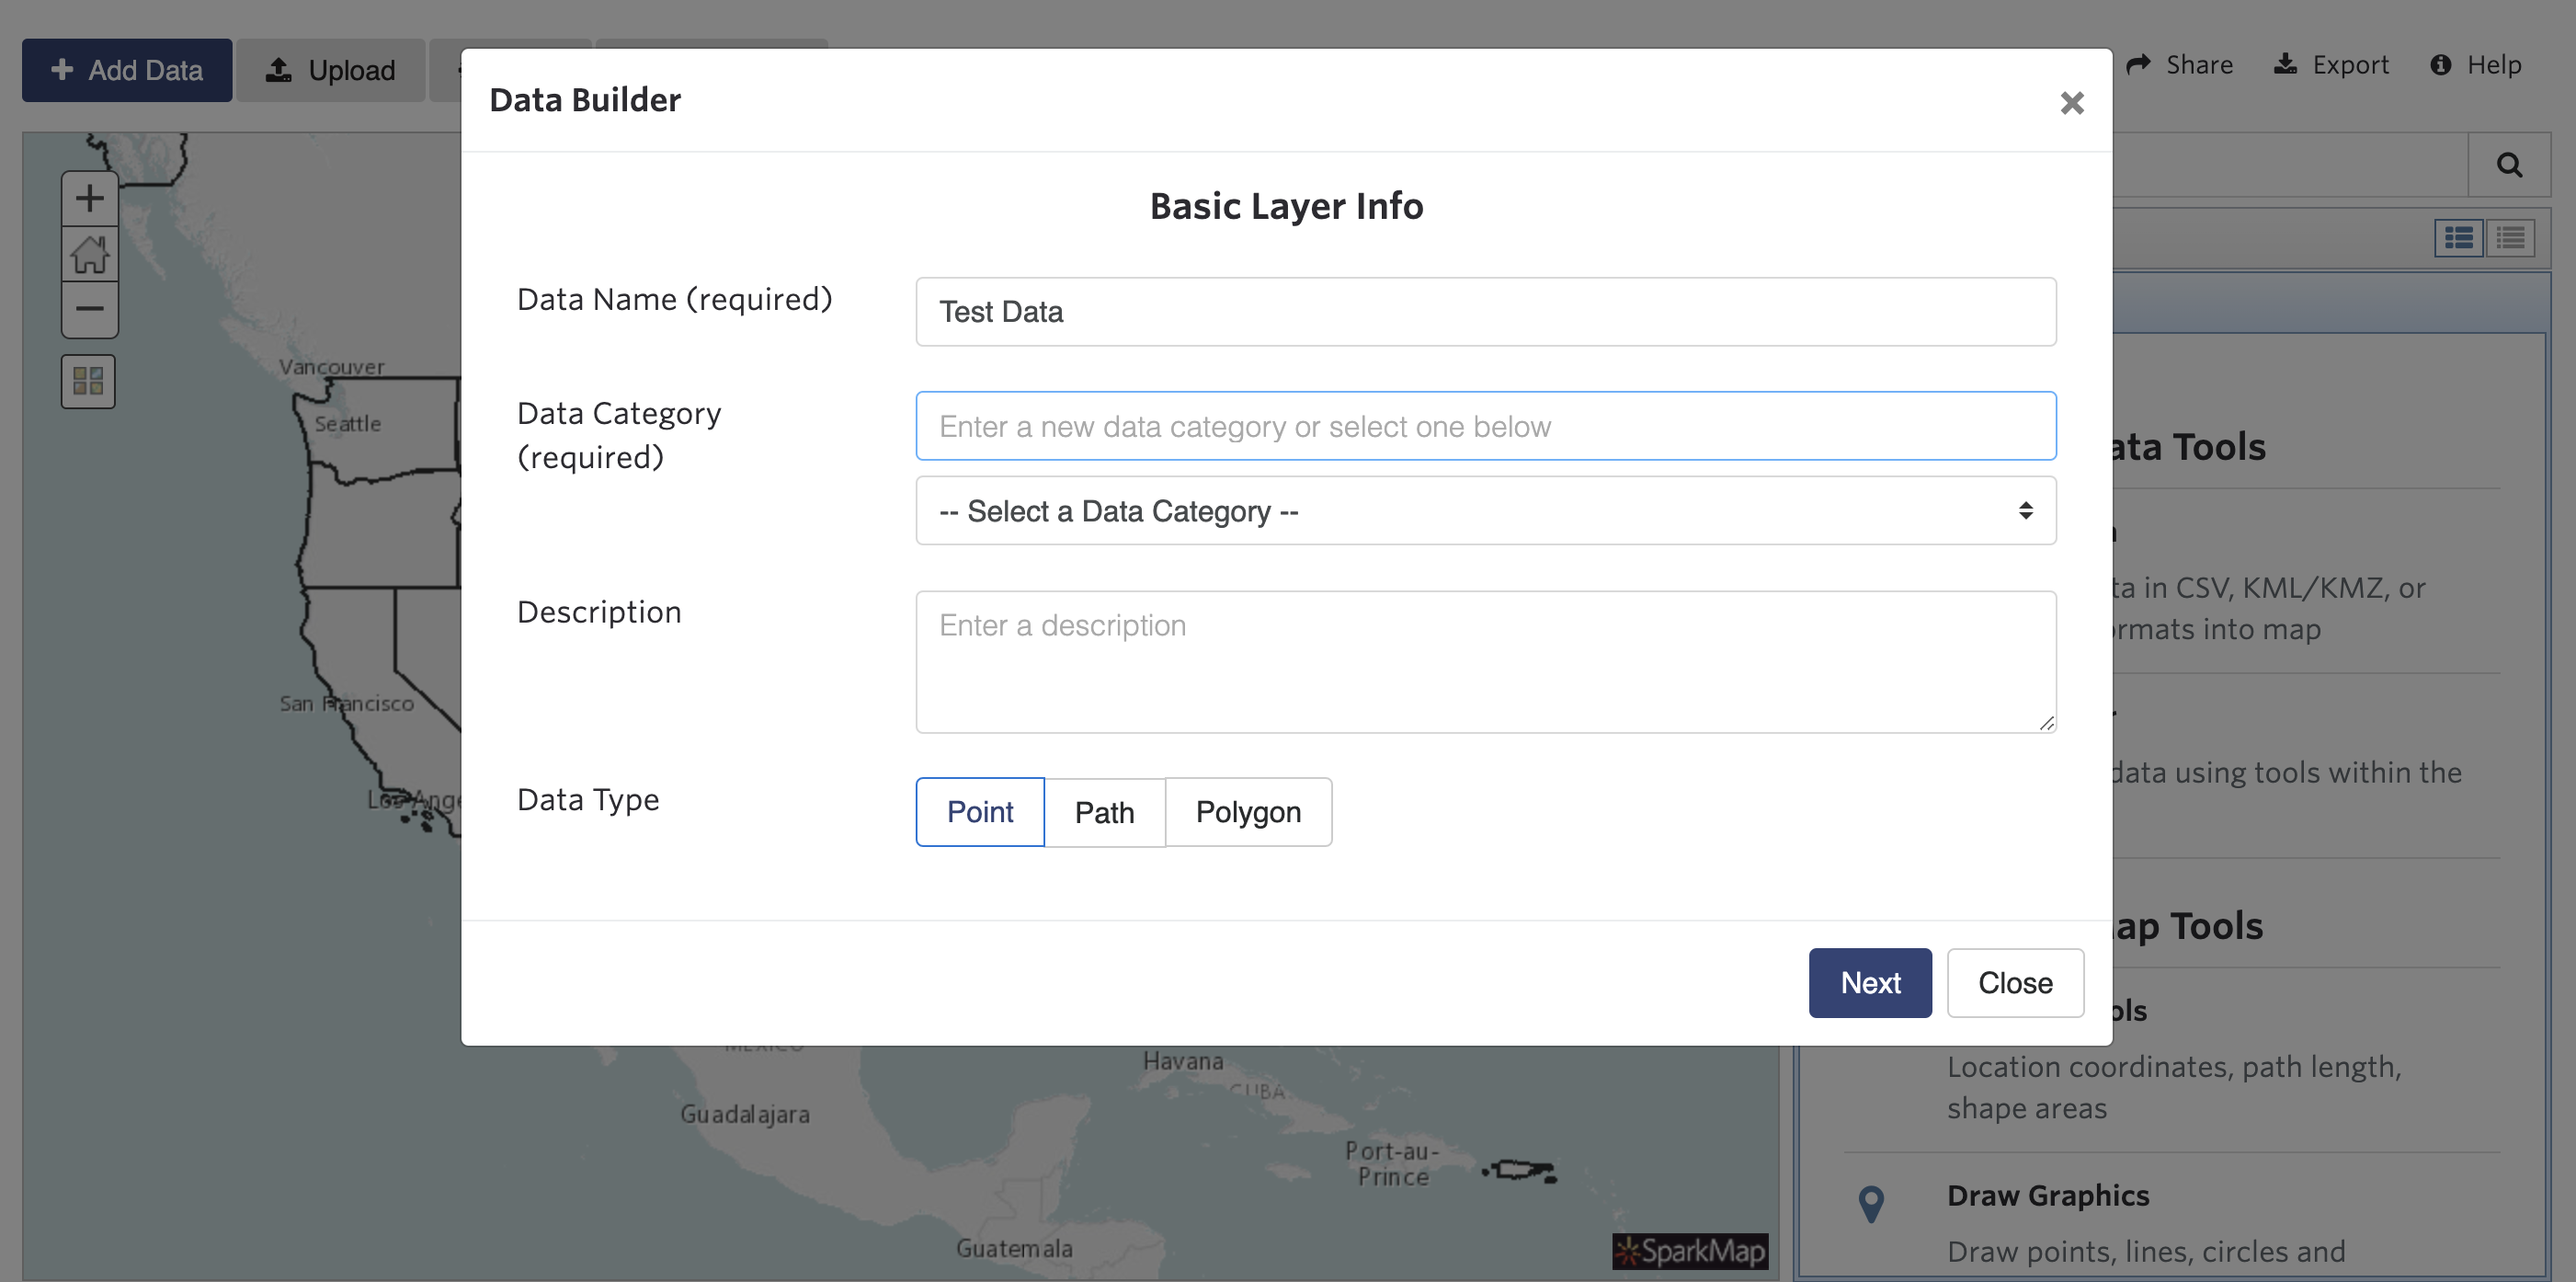
You will then be prompted to enter “Basic Layer Info” (Figure 1). Basic layer info includes your data layer’s name, category, description, and type.
Select the “Next” button at the bottom right corner of the popup to move to the next step.
Step 2 – Provide Data Attributes
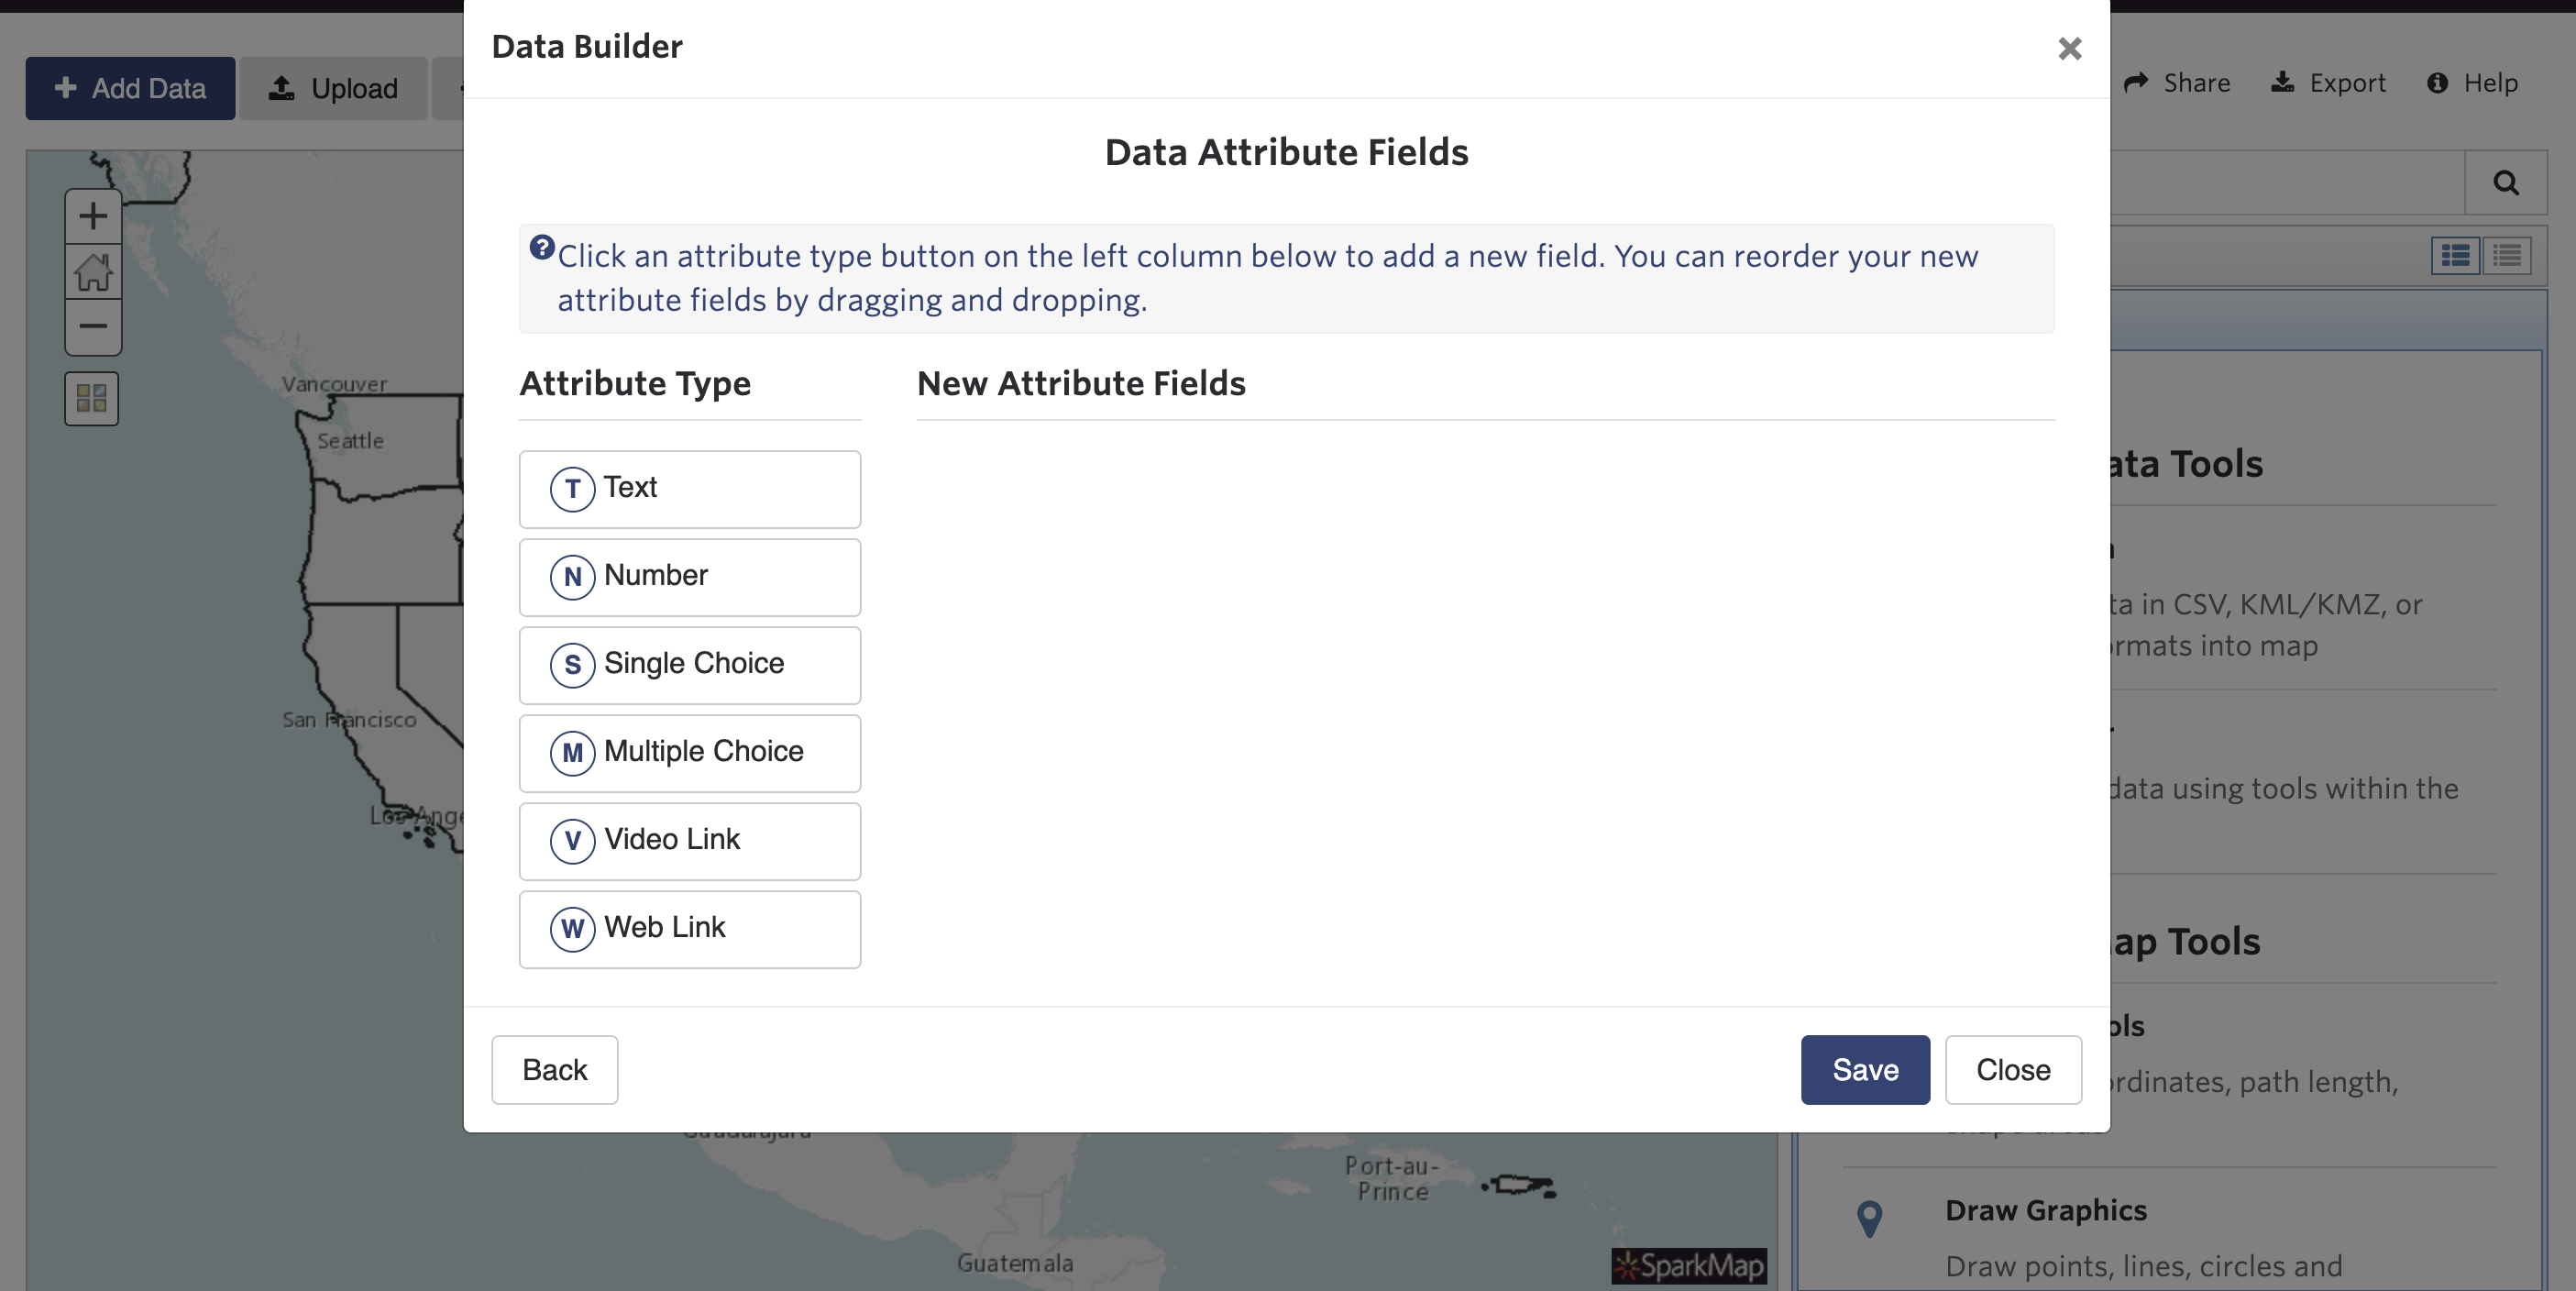
You will now be prompted to submit data attributes (Figure 2). These are text, links, numbers, etc., that you wish to make available on every point or section of your new data layer.
Select the “Save” button at the bottom right corner of the popup to move to the next step.
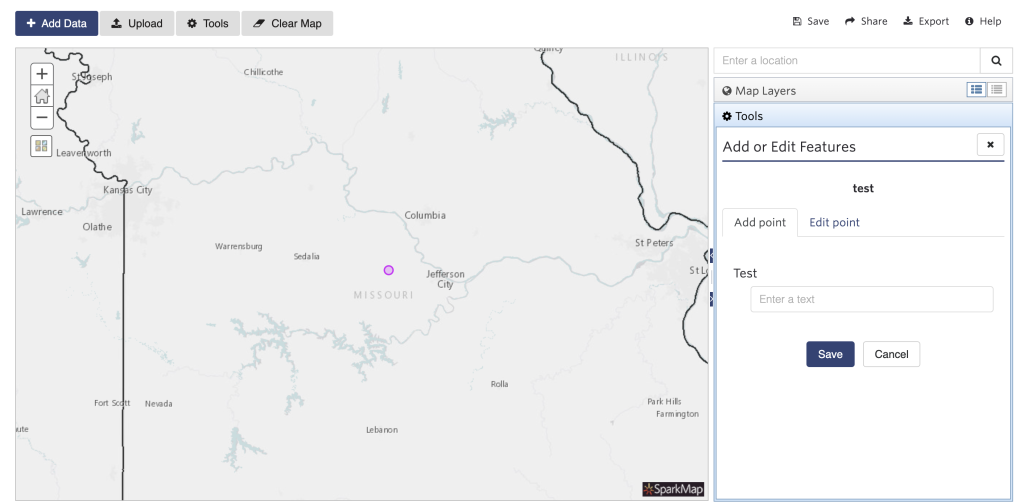
Step 3 – Draw and Edit Data Points
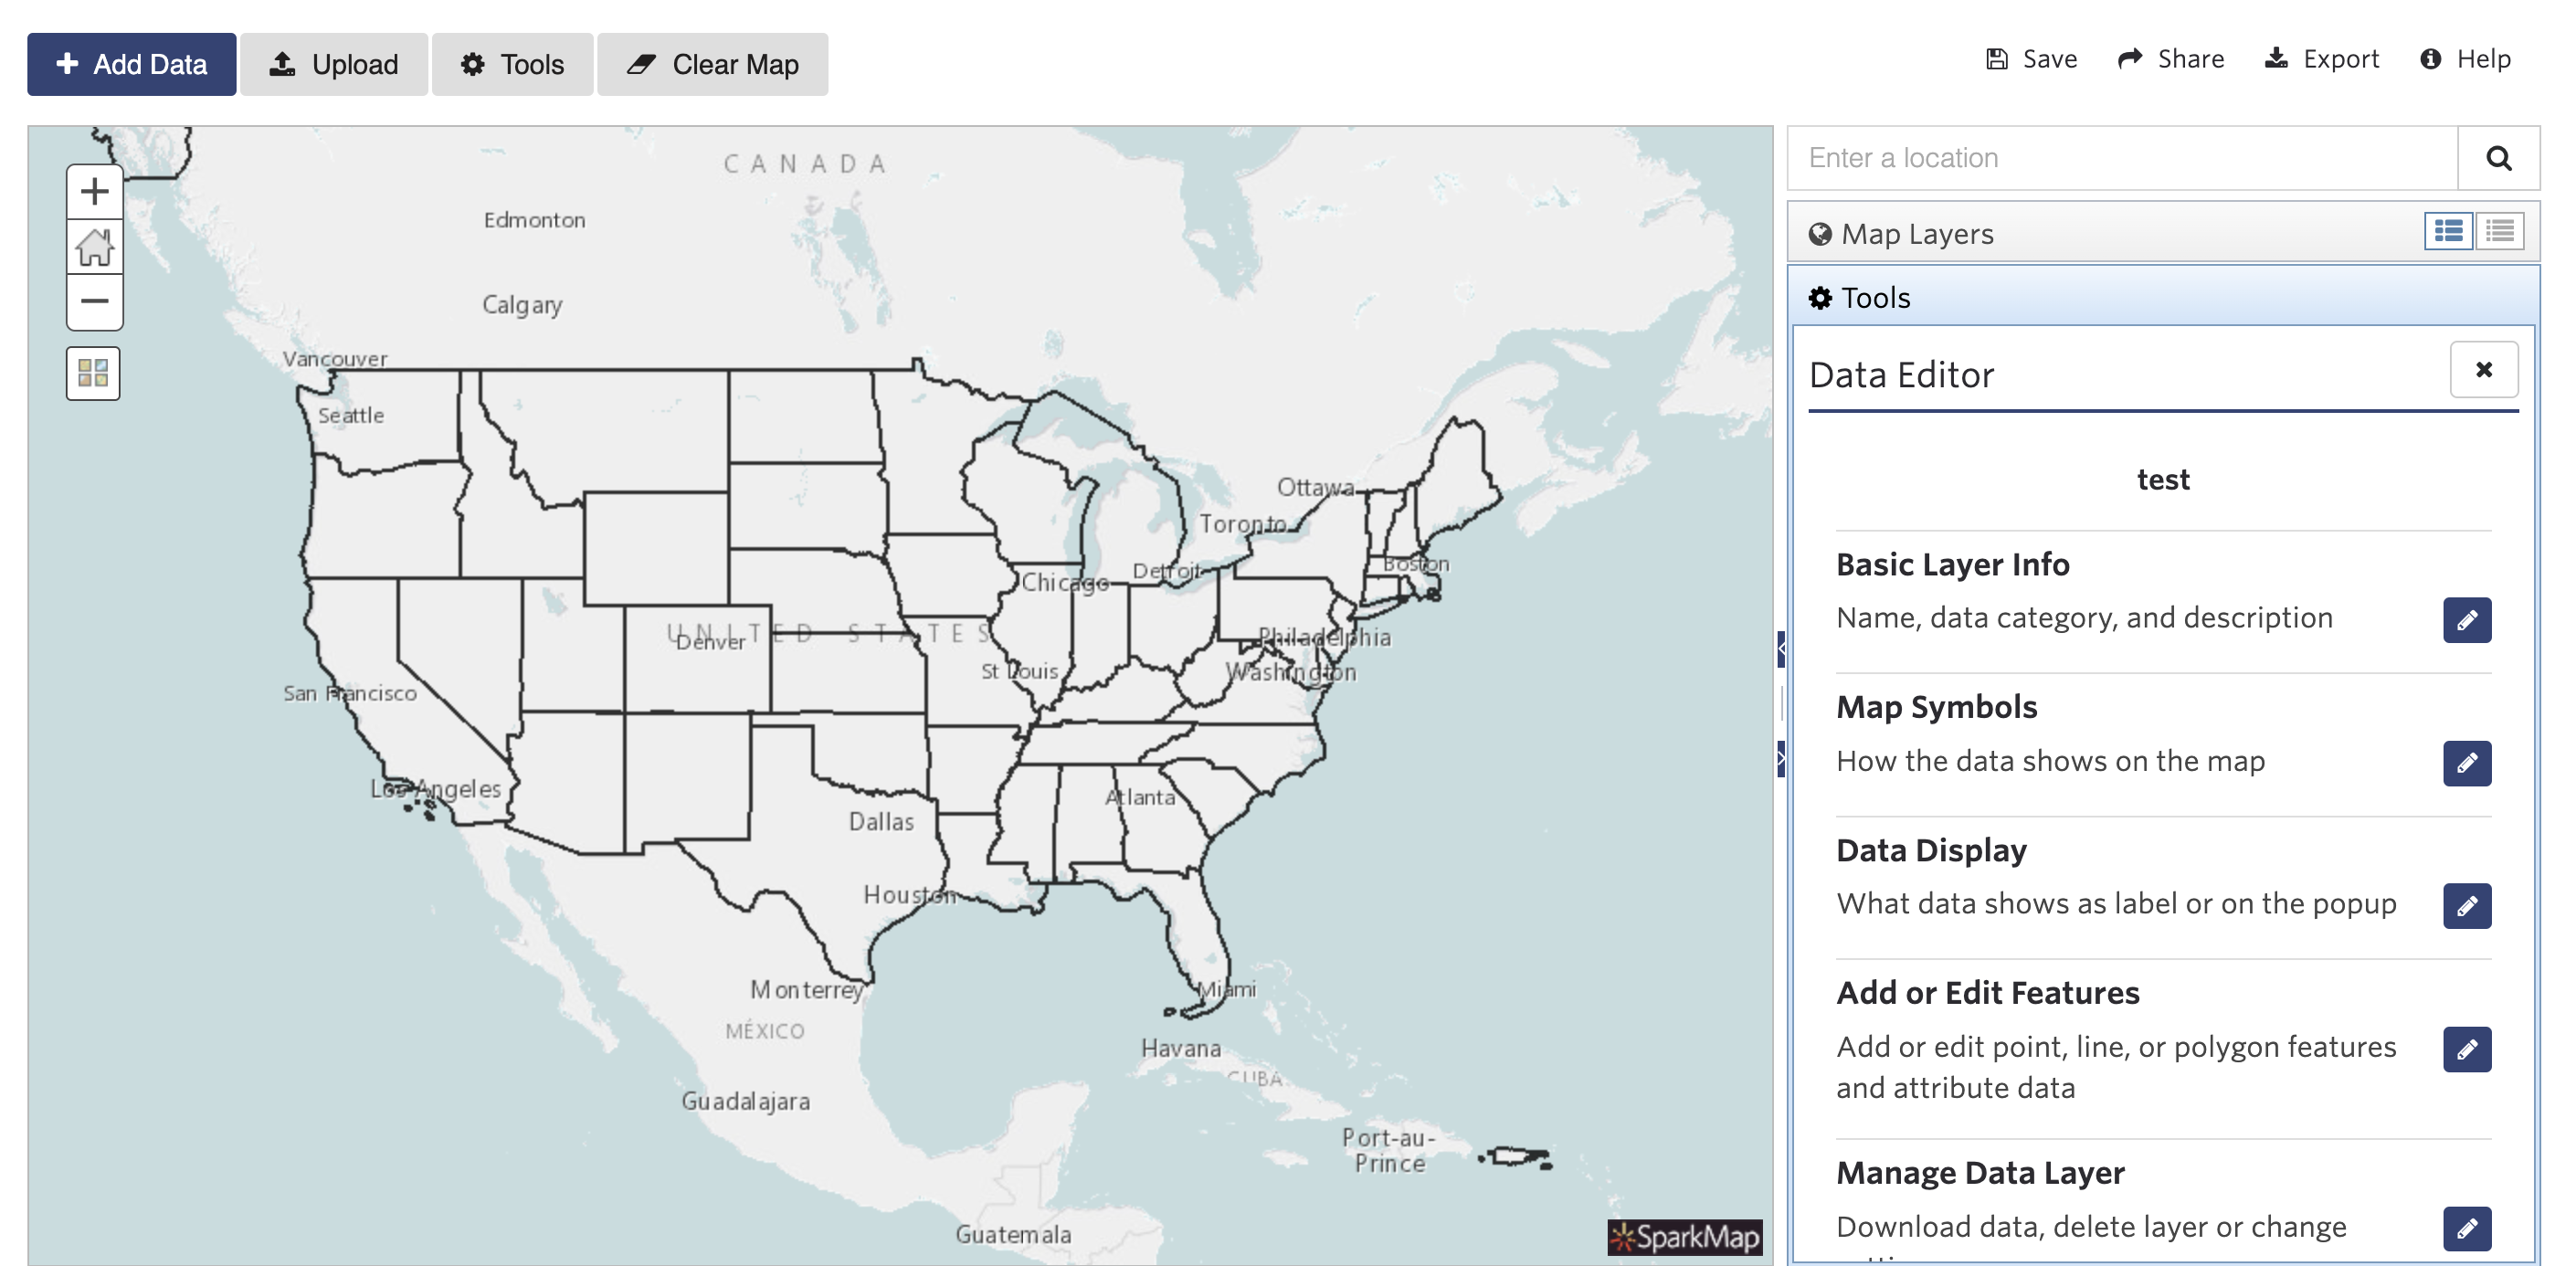
You will now see a blank map. The “edit data” toolbar will be open on the right side of the page (Figure 3).
Select the “Add or Edit Features” button to add data points or fields to your map.
Next, select the “Start Drawing” button to draw your data point on the map. Then, name your point, and hit the “Save” button (Figure 4). Repeat for each new point or field in your map.
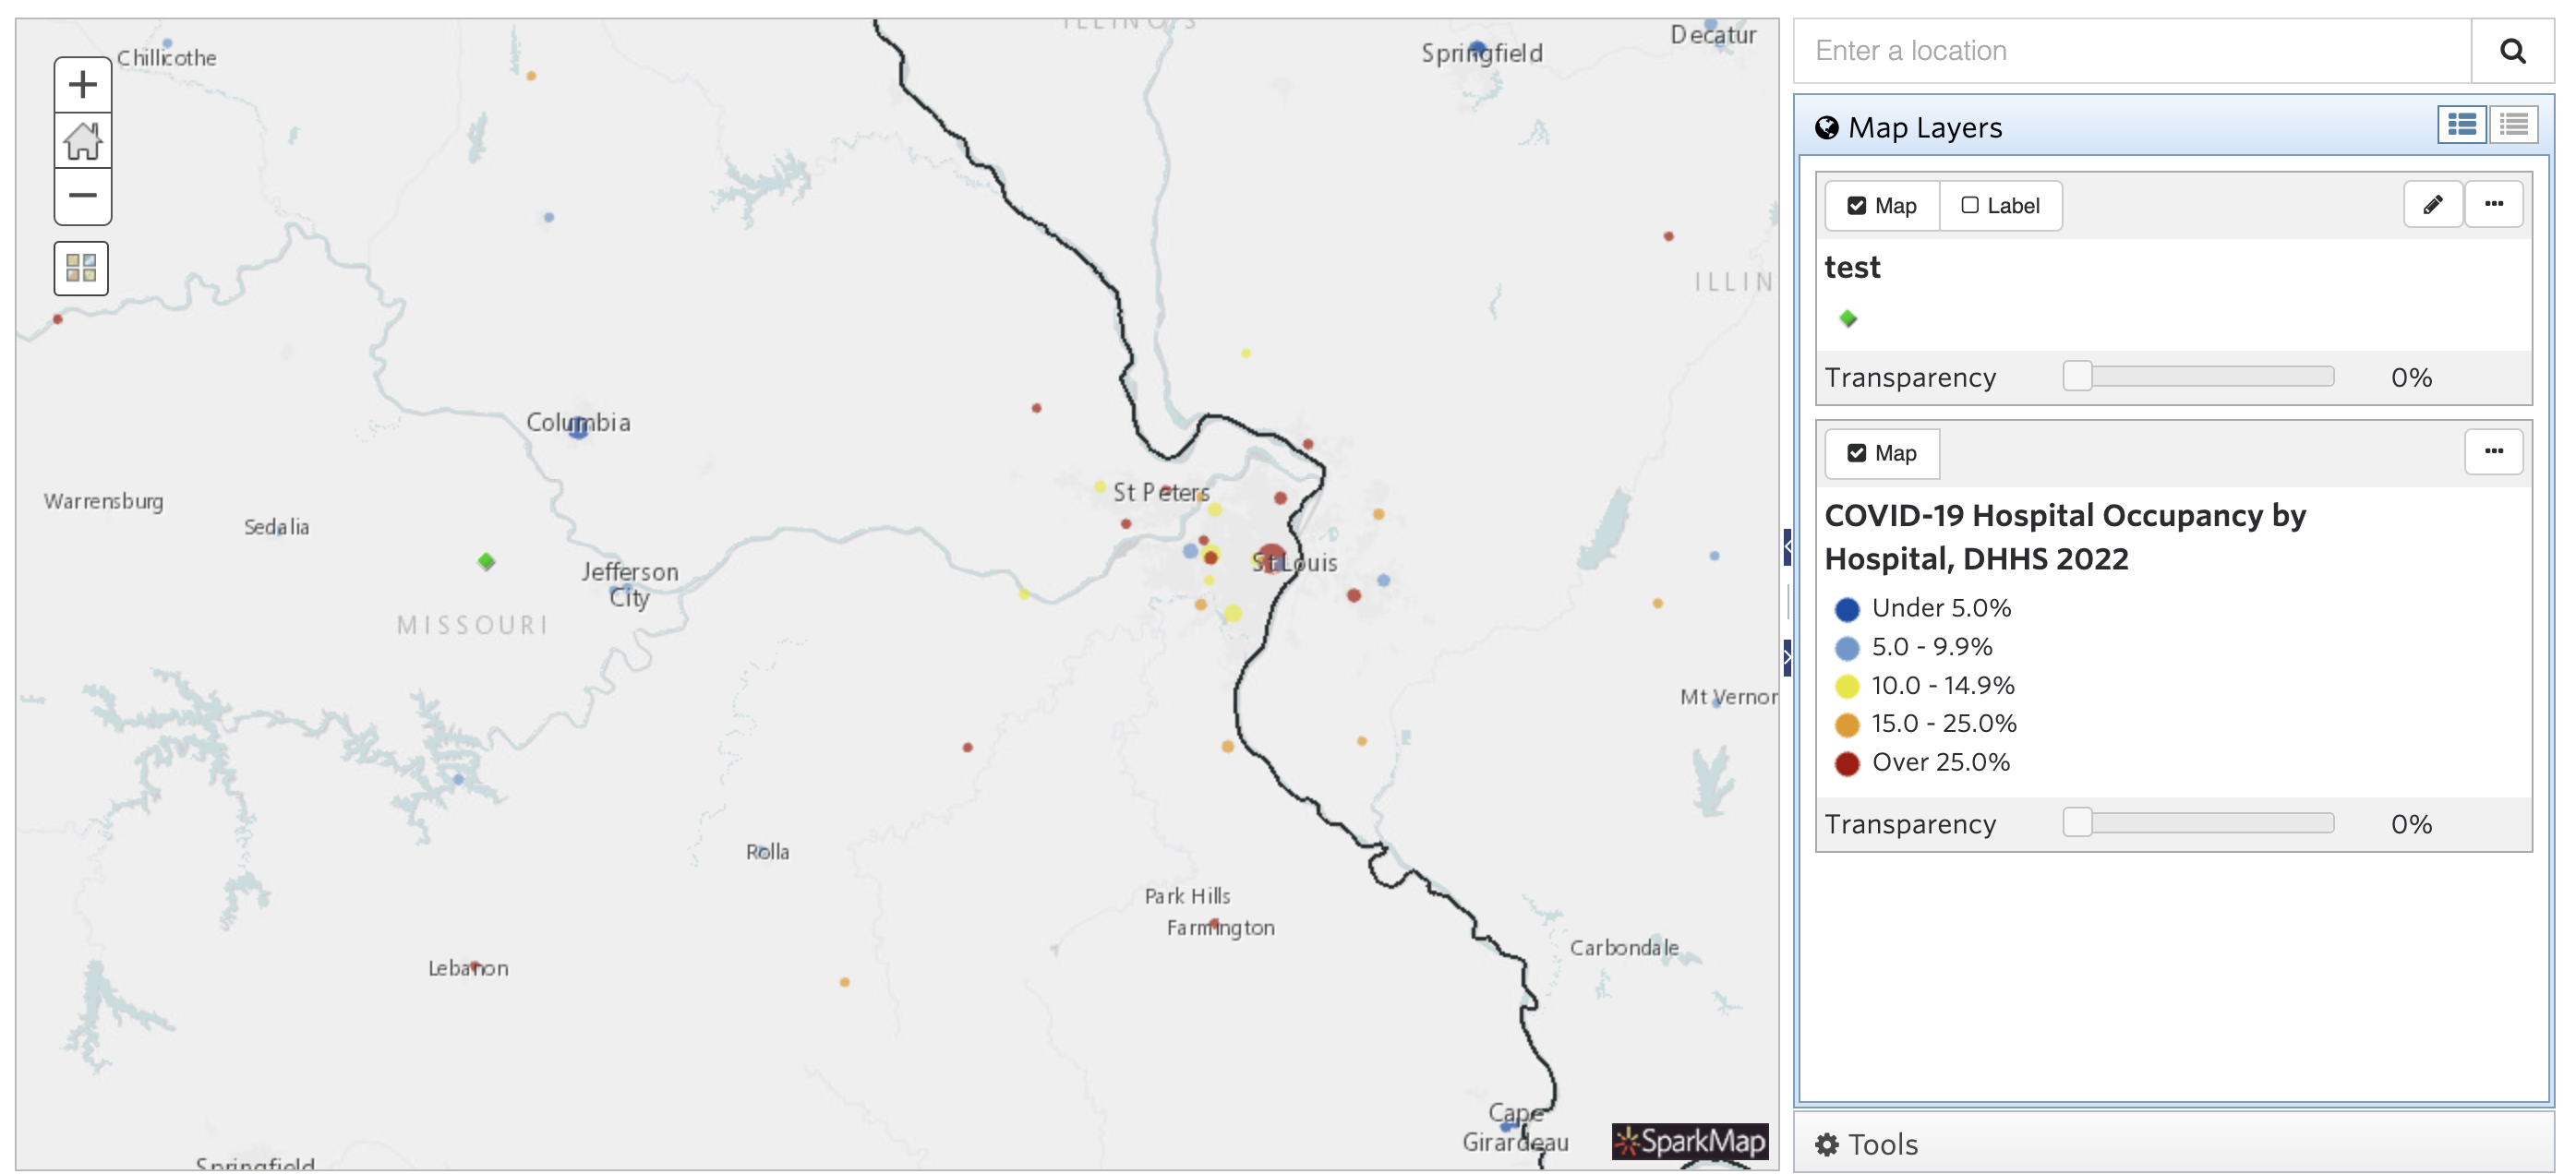
Once you are finished adding points or fields to your map layer, add additional layers from the Map Room’s map layer collection (Figure 5)!