How to Use the Pick From Map Tool
Learn to create reports for cities, towns, census tracts, school districts, congressional districts, and more using the Pick From Map Tool. This tool is available to Premium Subscribers.
Enter A Starter Location
Select Your Specific Areas
Complete Your Report
Step 1 – Enter A Starter Location
To access the Pick From Map Tool, ensure you are logged into your Premium SparkMap account. Then, navigate to the Community Needs Assessment.
Under the “Location” tab, click “Pick From Map” (Figure 1).
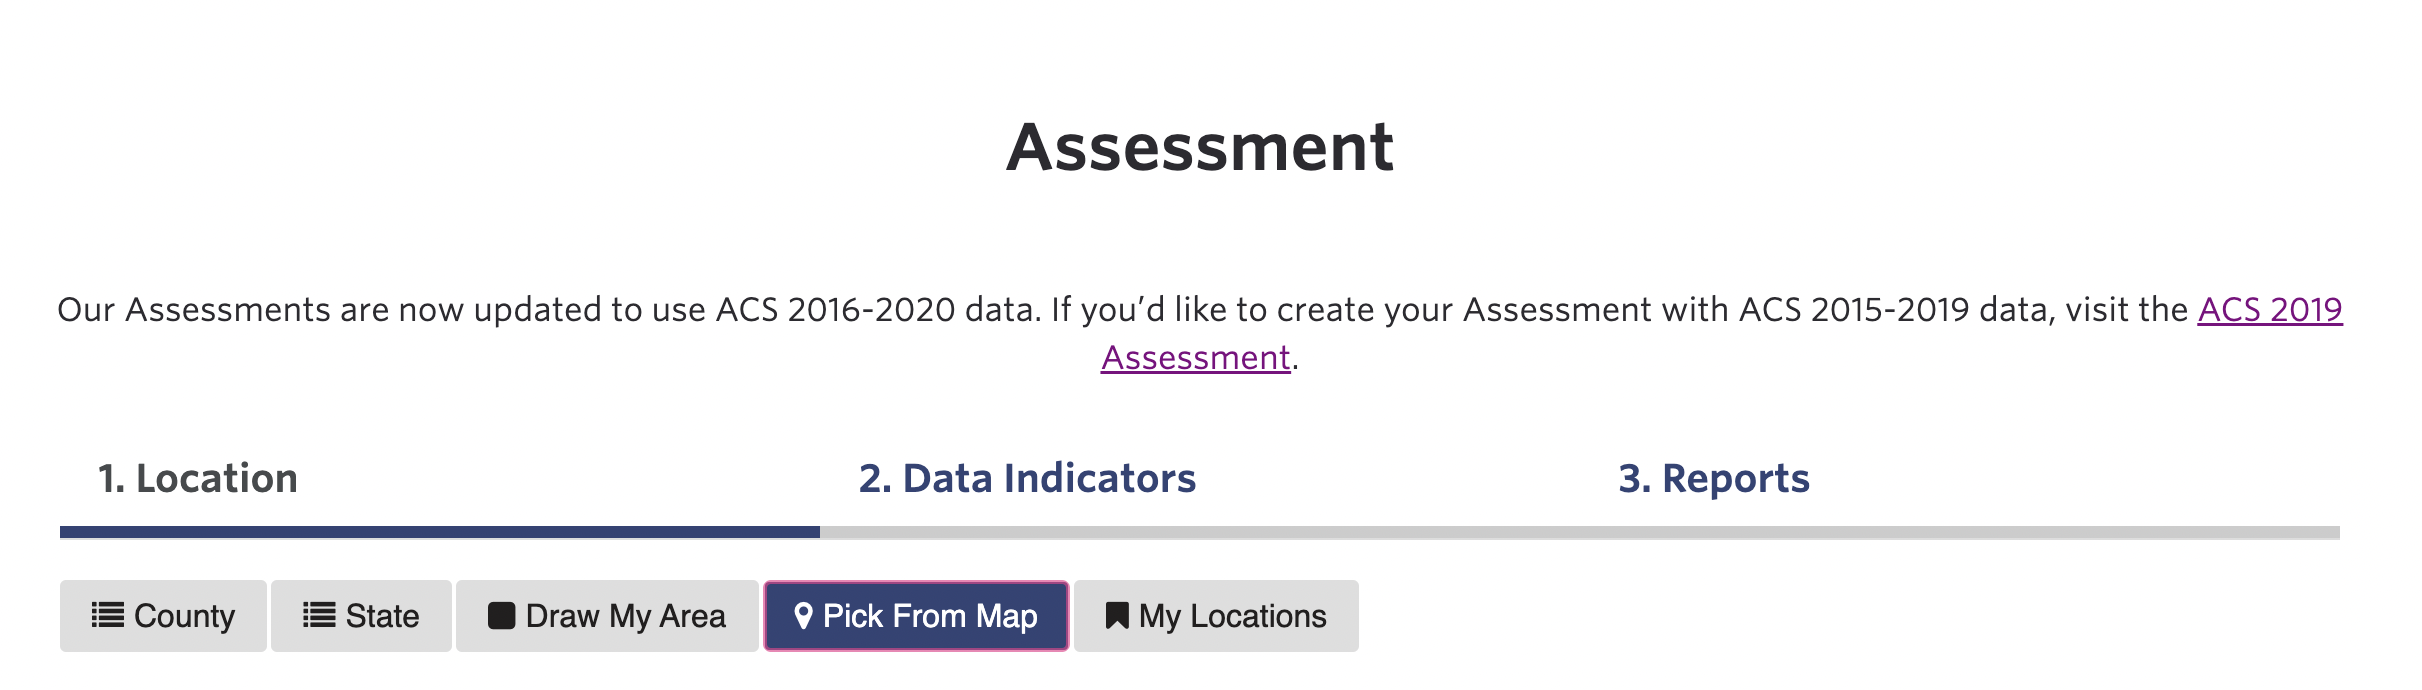
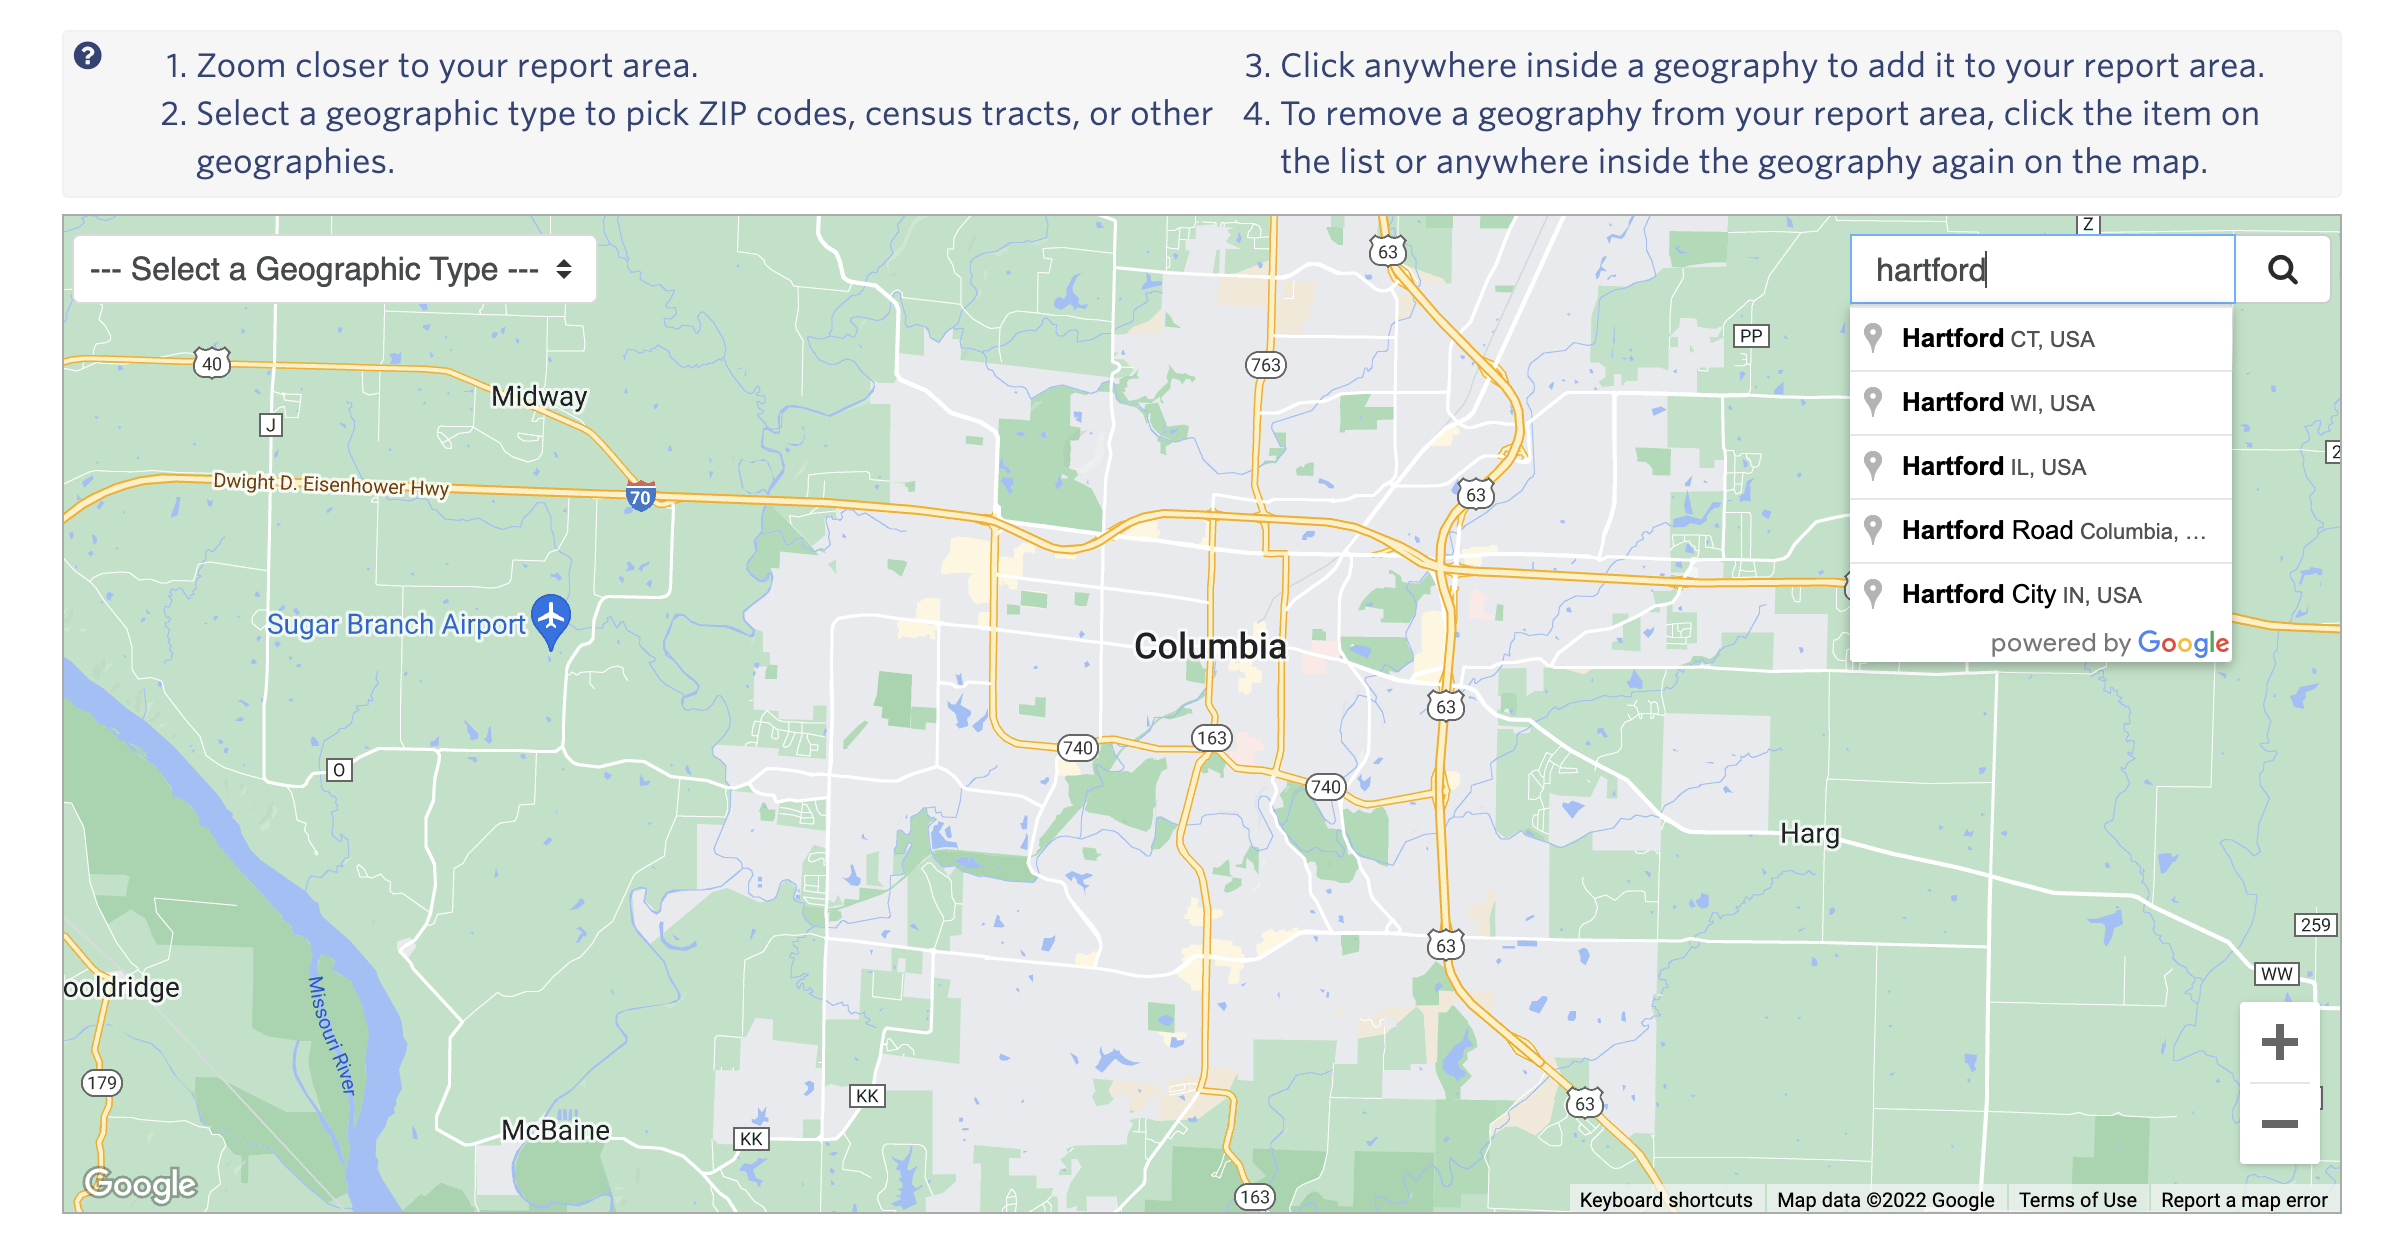
A map will appear on your screen (Figure 2). Enter a starter location into the search bar at the top right corner of the page, or manually zoom in to find your area of interest.
Step 2 – Select Your Specific Area
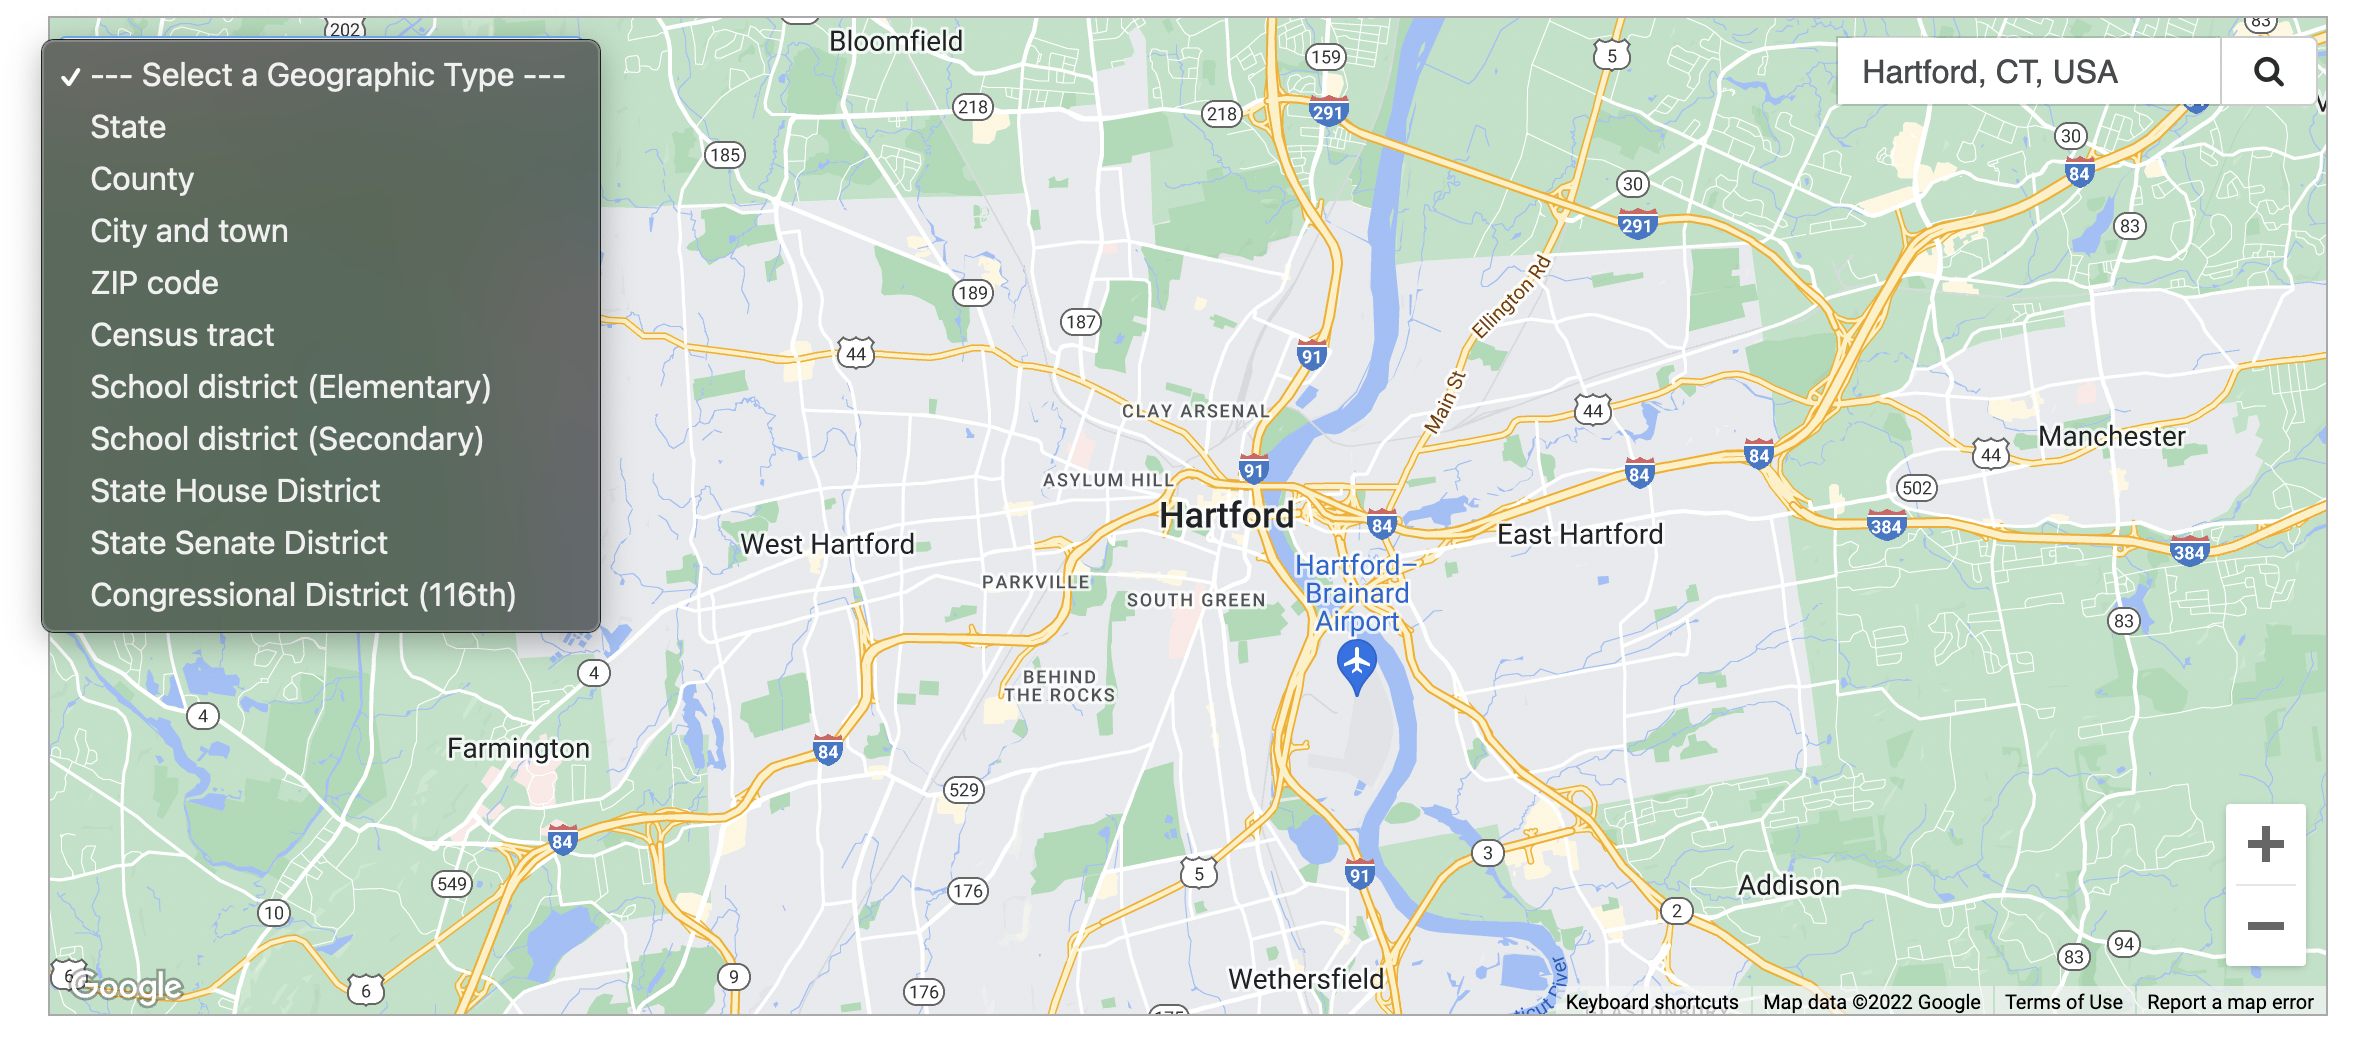
Once zoomed into your starter location, click the “Select a Geography Type” button at the top left corner of the screen (Figure 3).
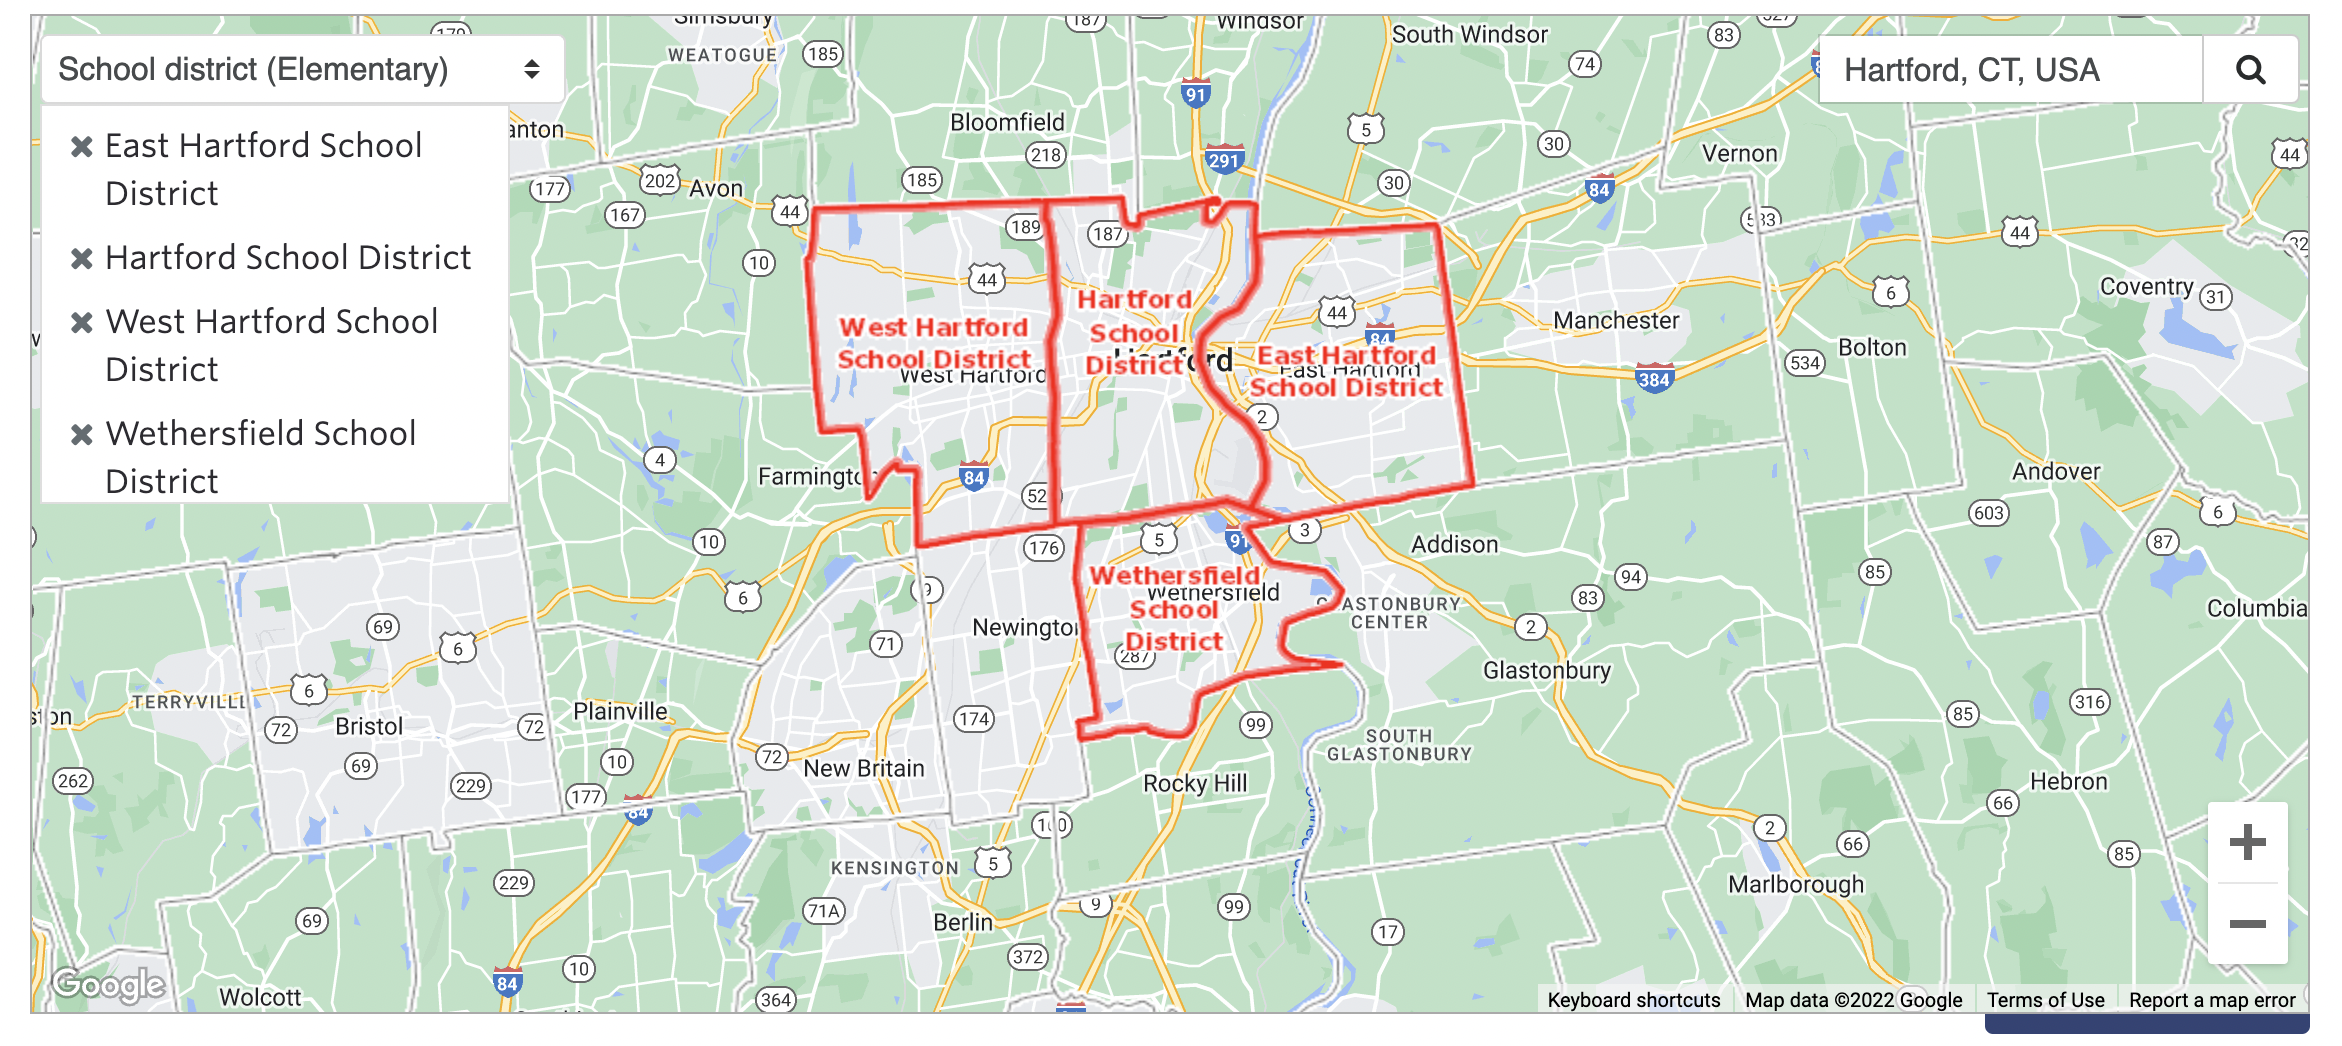
Pick your geography type of interest from the drop down menu, such as a ZIP code or school district.
Click the map to select your specific areas of interest (Figure 4). You can select up to 15 areas.
As you select your areas, a list will begin to form in the top left hand corner of your map. To delete any of your selected areas, simply click the X beside it.
Step 3 – Complete Your Report
Select your indicators and then proceed to your completed report (Figure 5).
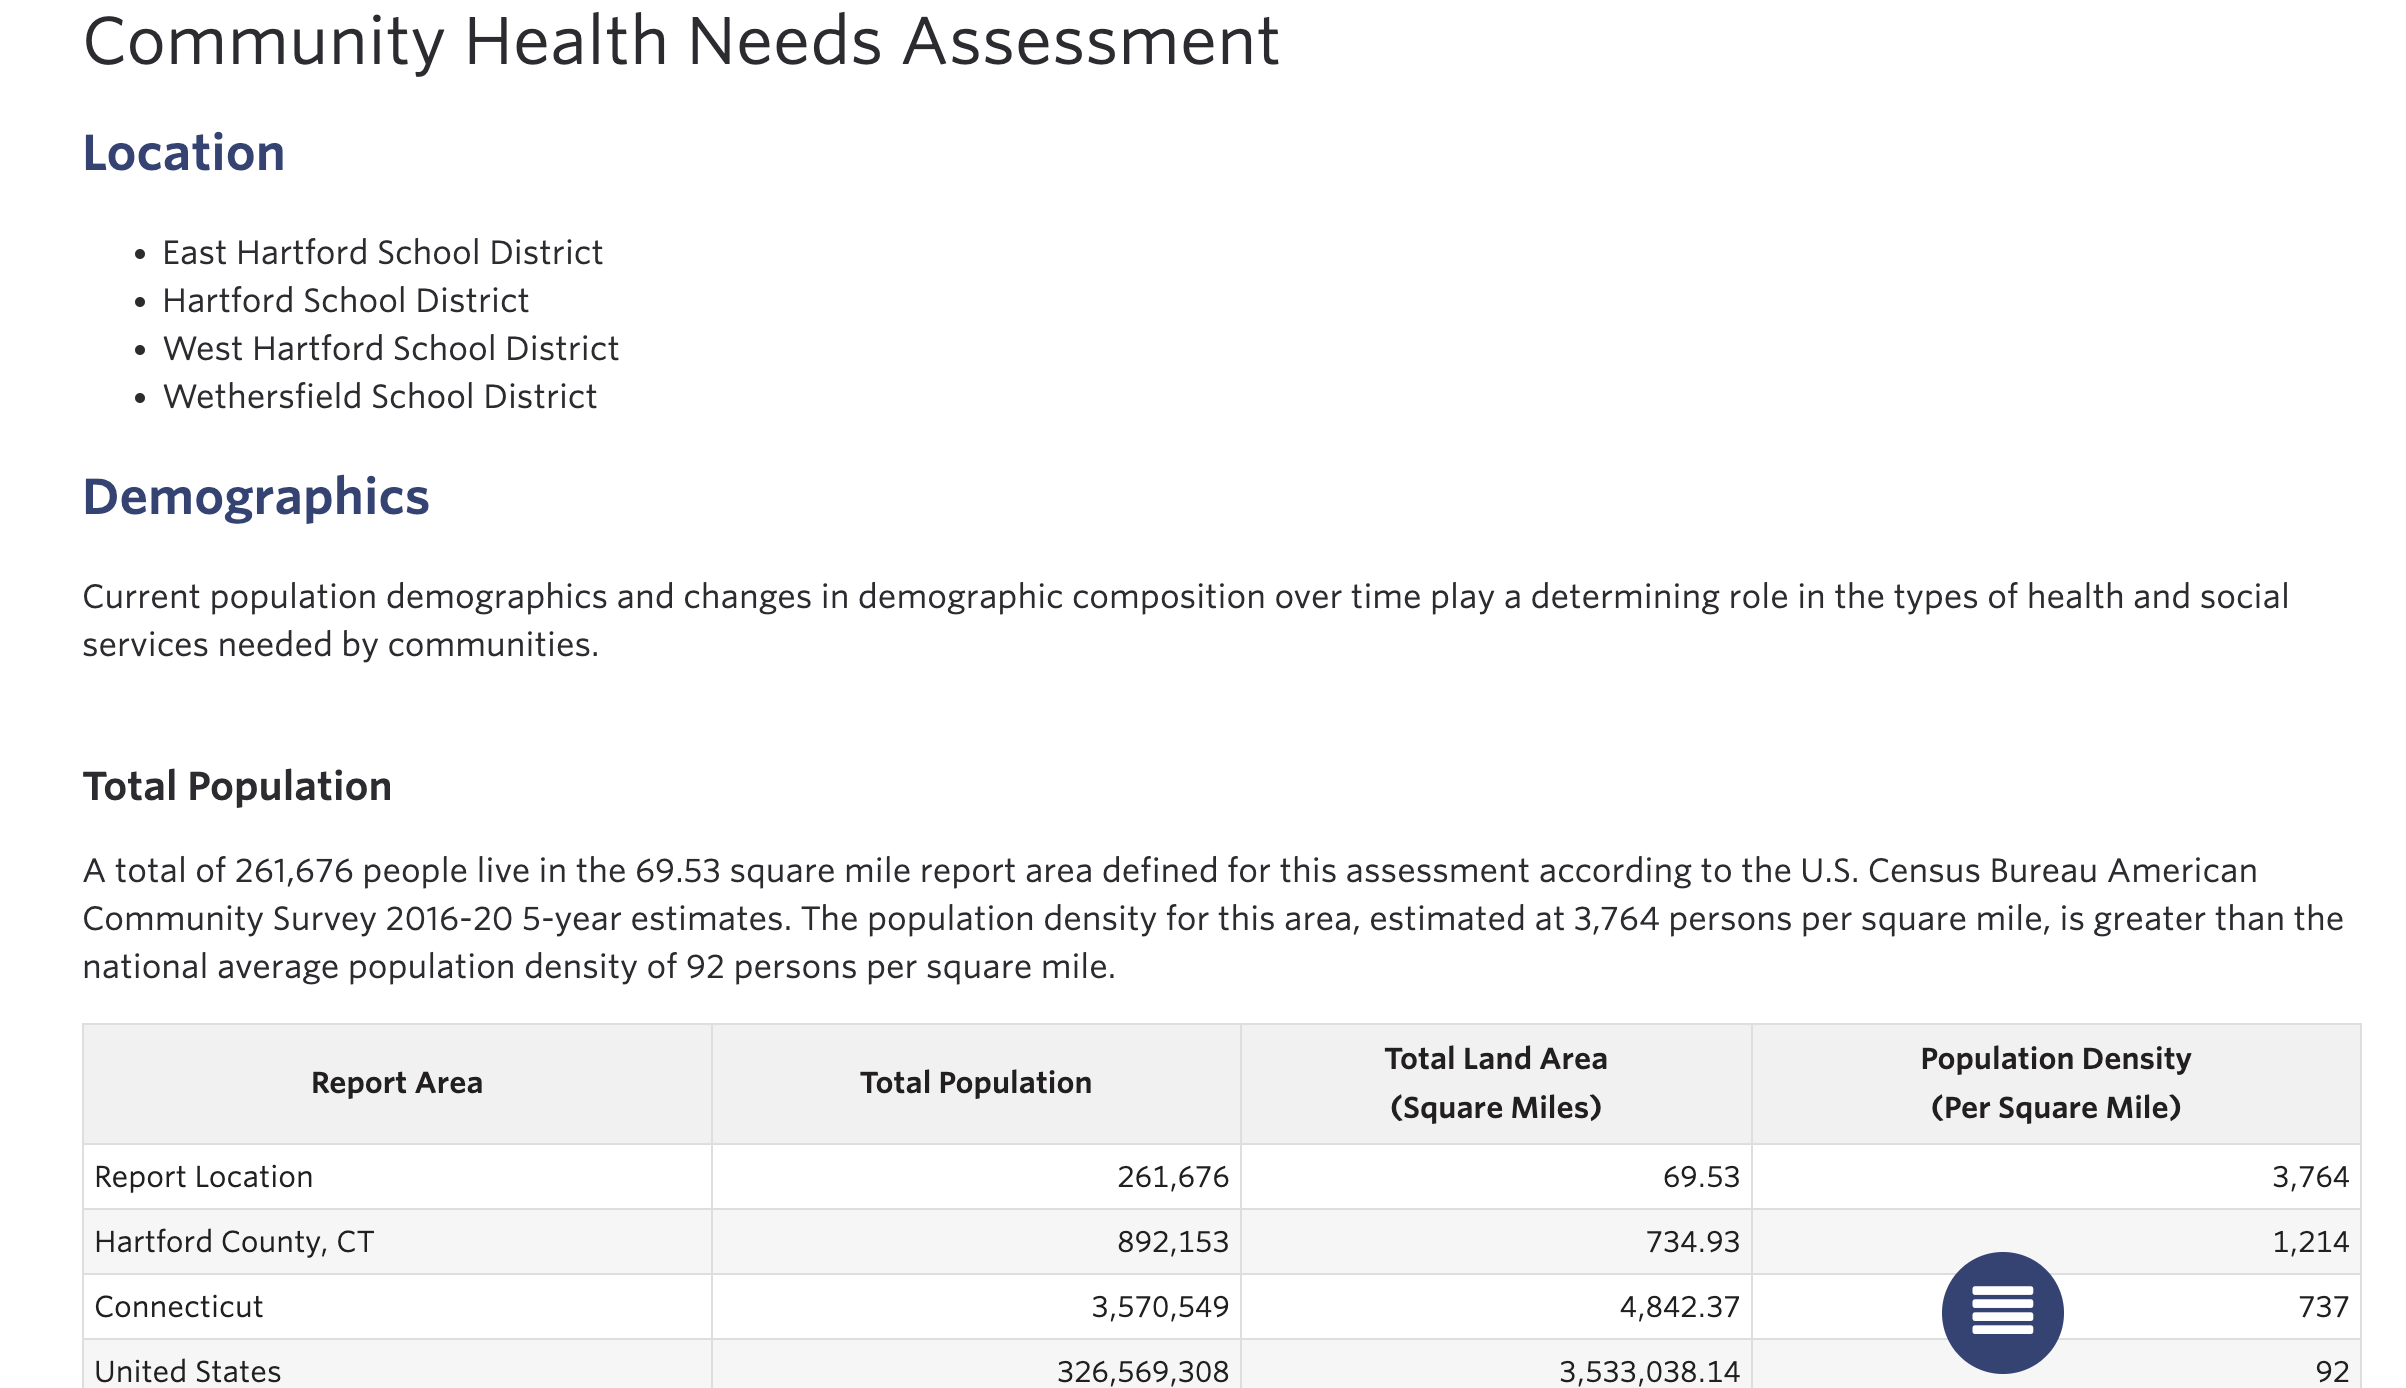
Your report will provide data for your selected area and for the county/counties and state(s) in which it is located.
If you selected a small area to analyze and want to learn more about SparkMap’s small area estimation methodology, read our short explanation.