How to Save and Access Locations
Learn step by step how to save and access saved locations for your Community Needs Assessments. All logged-in SparkMap Subscribers can save locations to their profile. Don’t have an account? Register here.
Select Your Location
Save Your Location
Access Your Saved Locations
Step 1 – Select Your Location
Login to SparkMap and navigate to the Community Needs Assessment.
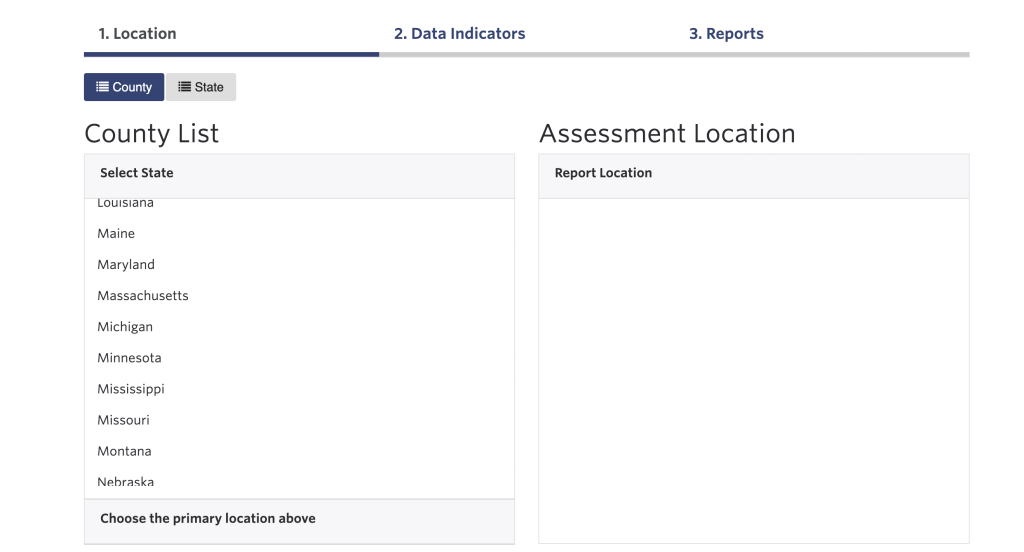
Select the location you want to assess. (Figure 1). For step-by-step instructions on selecting your location, check out the How to Build a Community Needs Assessment tutorial.
Step 2 – Save Your Location
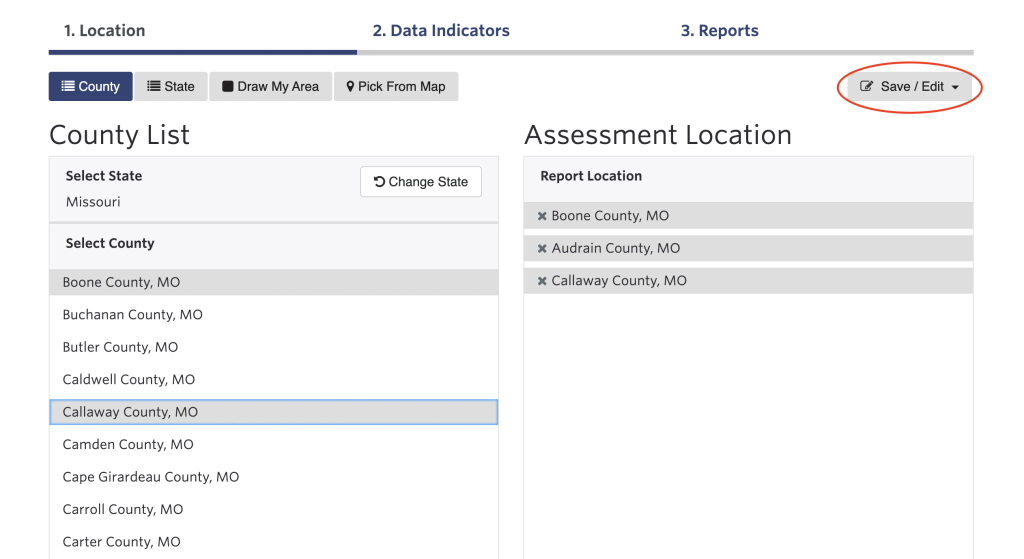
After you select a location, a “Save/Edit” button will appear at the top right corner of the page (Figure 2). Click the button, then click “Save Location.”
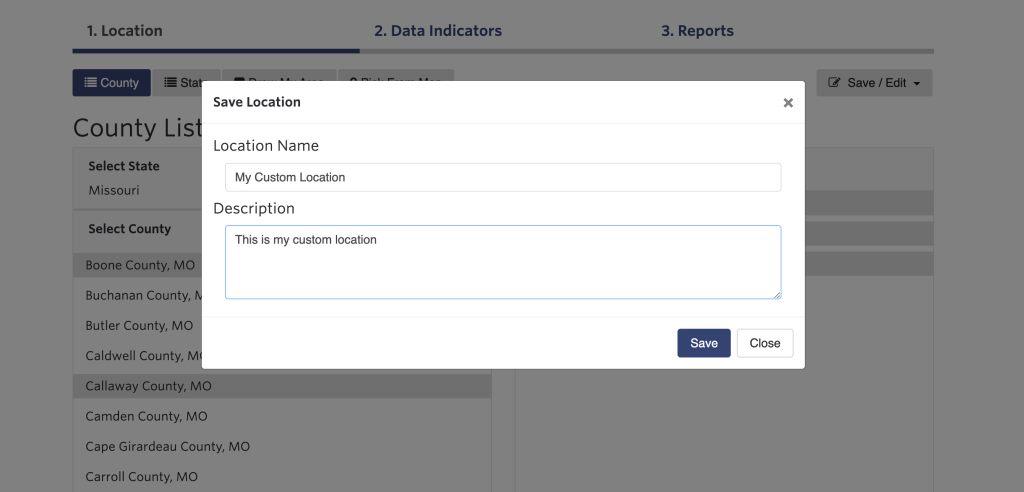
Type your location name and a description in the popup, then click “Save” (Figure 3).
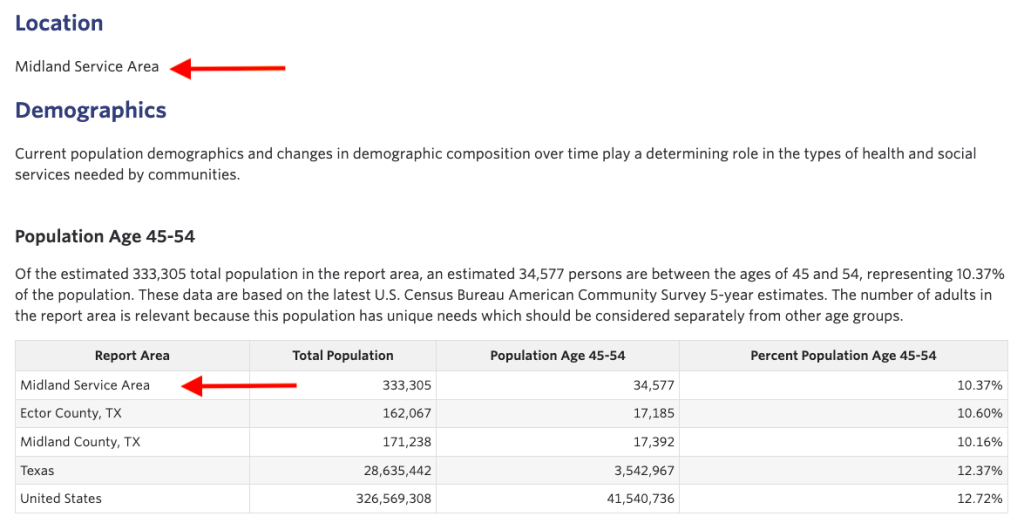
Note: Saved location names are used as the default name for your Community Needs Assessment report location and data visualizations (Figure 4).
Step 3 – Access Your Saved Locations
After saving a location, refresh the Community Needs Assessment page. A “My Locations” button will appear (Figure 5). Click “My Locations” to view your saved locations.
To edit or delete a saved location, select it from the list, then click “Save/Edit Location.”
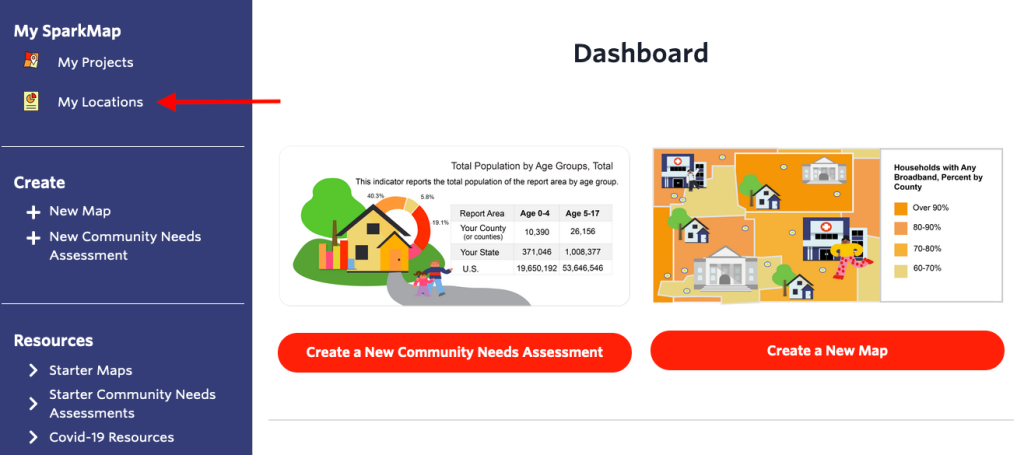
To access your saved locations list from your user dashboard, click the “My Locations” button (Figure 6).

