How to Use the Measure Tool
Learn how to use the Map Room’s Measure Tool, which helps you identify geographic coordinates, path lengths, and area sizes at the click of a button. This tool is available for all SparkMap users.
Identify Geographic Coordinates
Measure Paths
Measure Areas
1 – Identify Geographic Coordinates
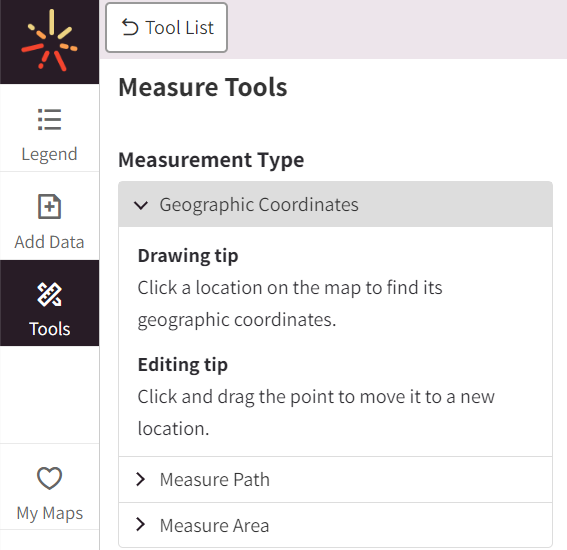
To find the measure tool, click the “Tools” tab in the Map Room and click the Measure Tools menu option (Figure 1).

The Measure Tools Menu will now appear.
To identify geographic coordinates on your map, select the “Geographic Coordinates” menu option. (Figure 2).
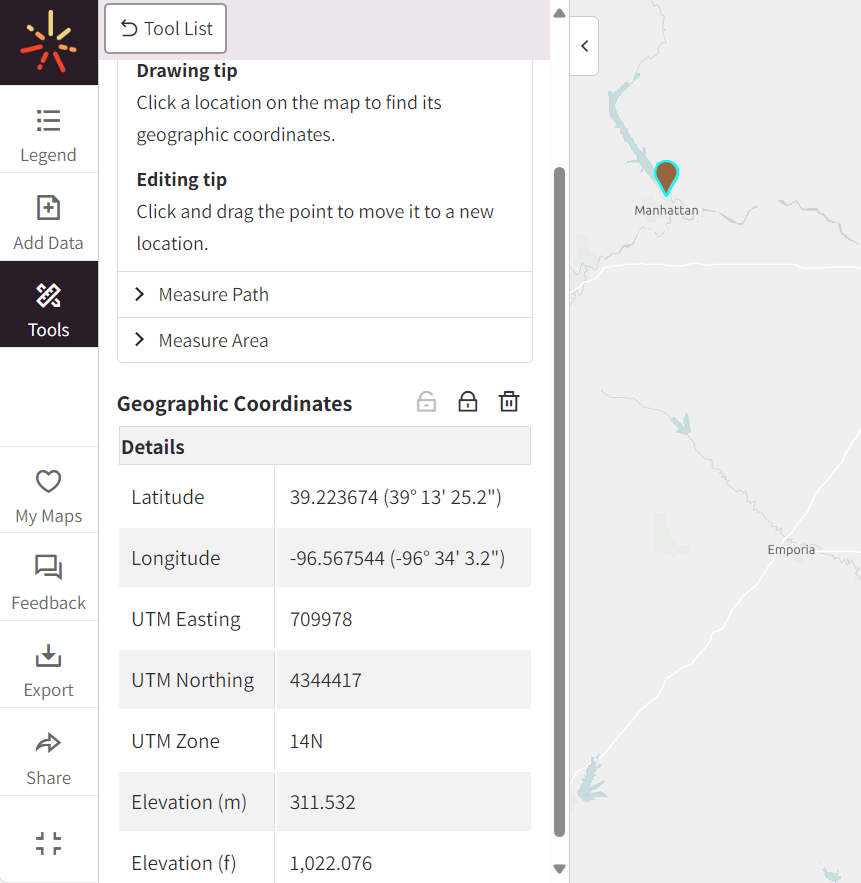
Click on the area of your map for which you wish to acquire geographic coordinates.
Information about the point’s coordinates will populate under the Measure Tools menu (Figure 3). This information includes the point’s latitude, longitude, UTM zone, and elevation.
2 – Measure Paths
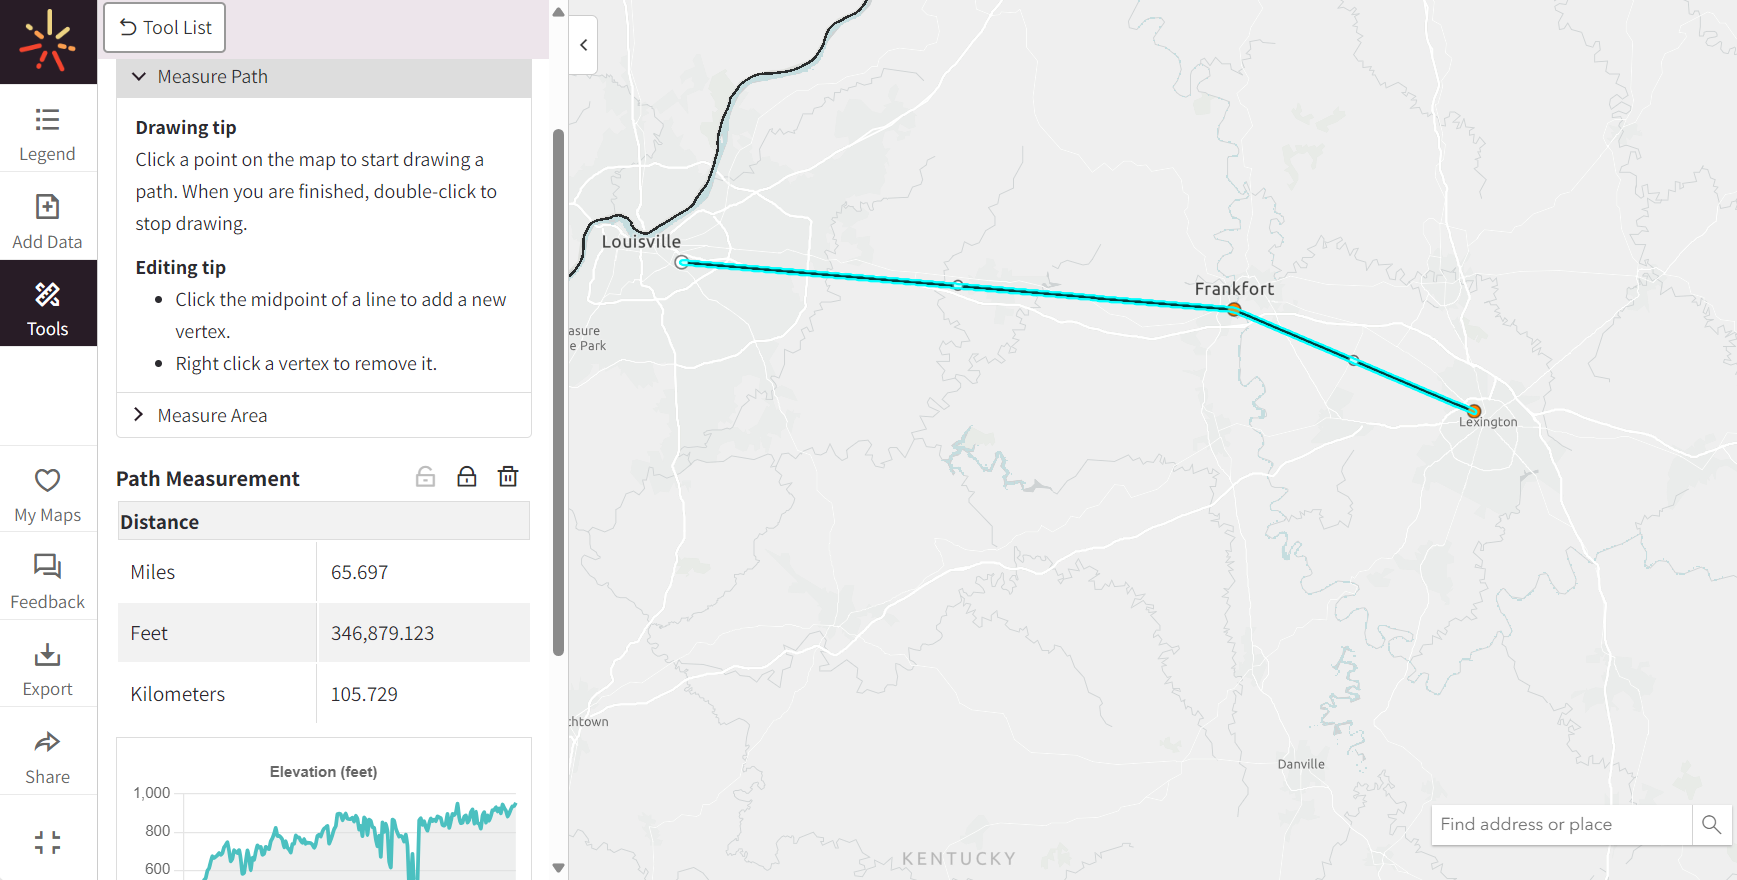
To measure paths, select the “Measure Path” menu option (Figure 4).
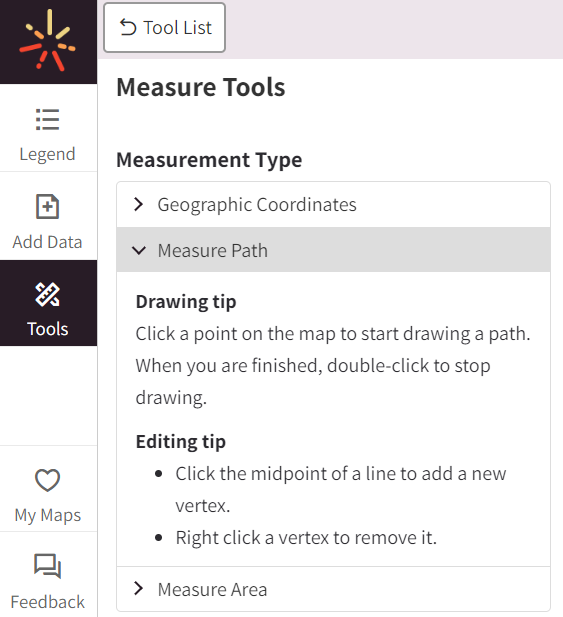
Click a point on the map to start drawing your path. Continue to draw your path by clicking points on the map. When you have finished drawing your path, double-click to stop drawing. (Figure 4).
To edit your path, click the midpoint of a line to add a new point and drag any of your previously selected points. Right-click a point to remove it.
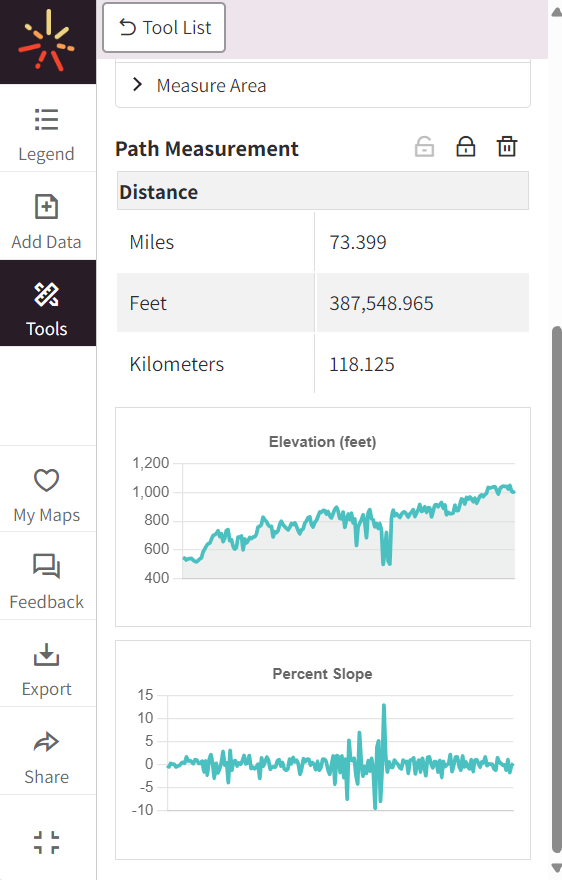
Scroll down under the Measure Tools menu to see your path’s distance, elevation, and slope (Figure 6).
3 – Measure Map Areas
To measure areas, select the “Measure Area” menu option (Figure 7).
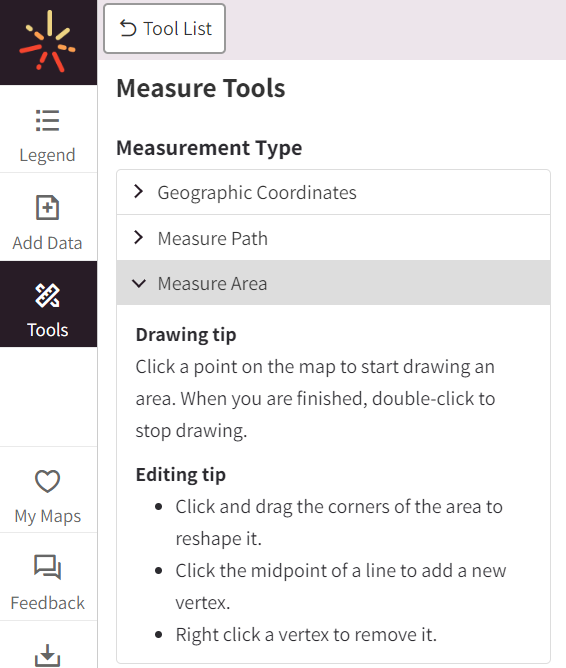
Click a point on the map to start drawing an area. When you’re finished, double-click on the map to complete the area.
Click and drag the corners of the area to reshape it or click the midpoint of a line to add a new point. Right-click a point to remove it. (Figure 8).
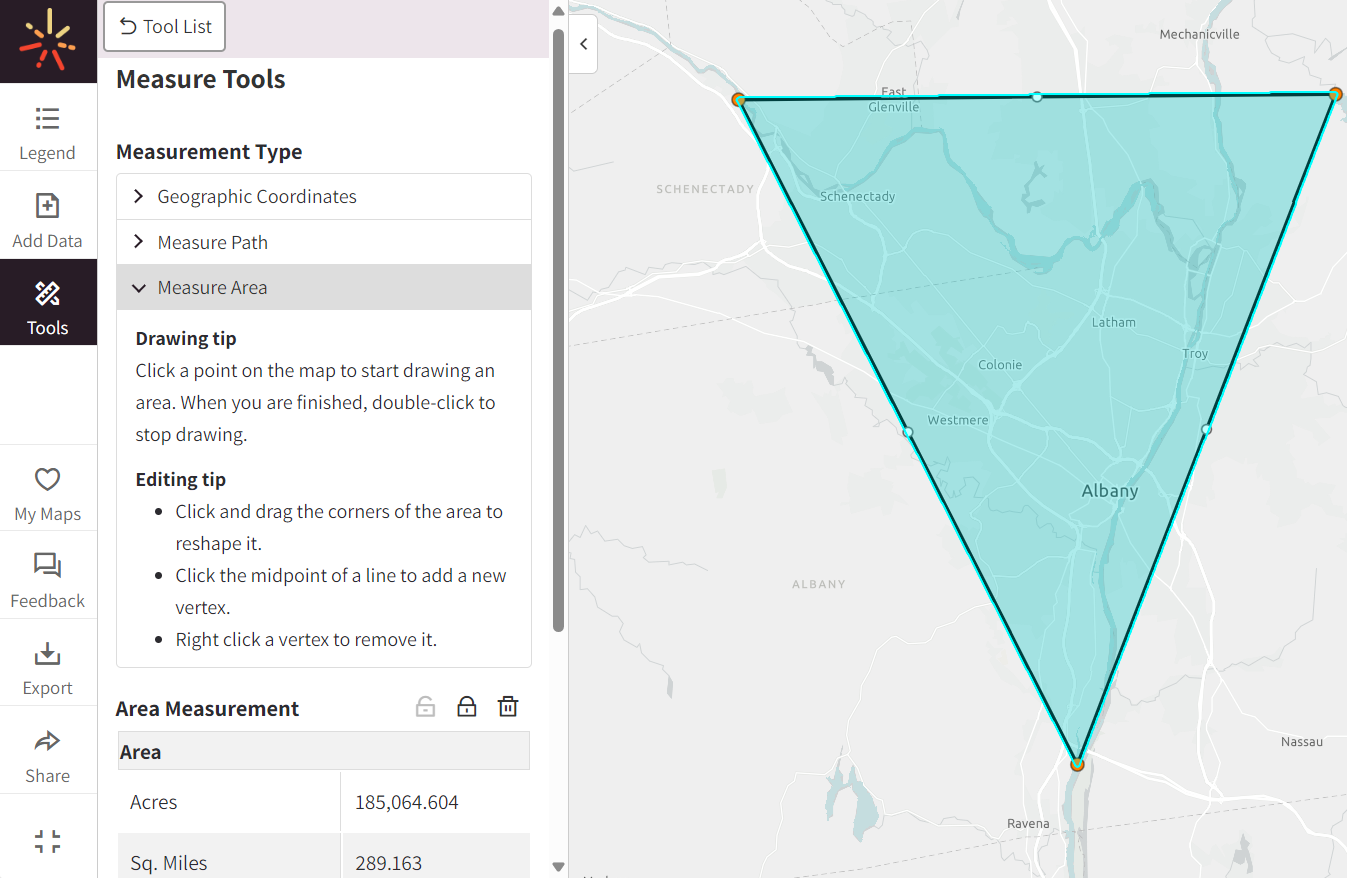
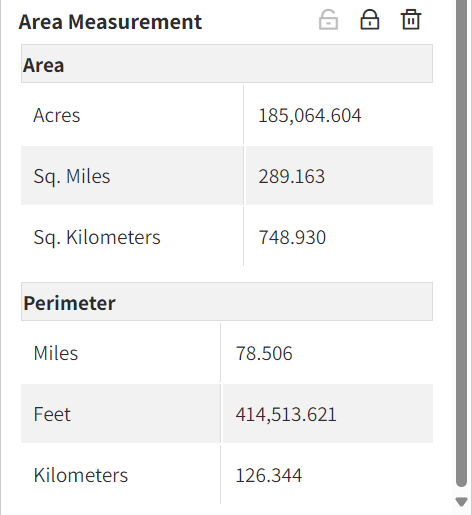
Scroll down under the Measure Tools menu to see your the measurements for your shape’s area and perimeter (Figure 9).